Role Based Access Control (Enterprise Multi-Division Edition)
Overview:
Role Based Access Control (or RBAC) allows you to restrict access to requests in the system. You can specify who can perform what actions on requests within what queues. For example, we can specify that members of the sales team can only view public transactions on requests in tech support while having full update and view rights on the sales requests. Role Based Access Control is available in the Enterprise Multi-Division Edition.
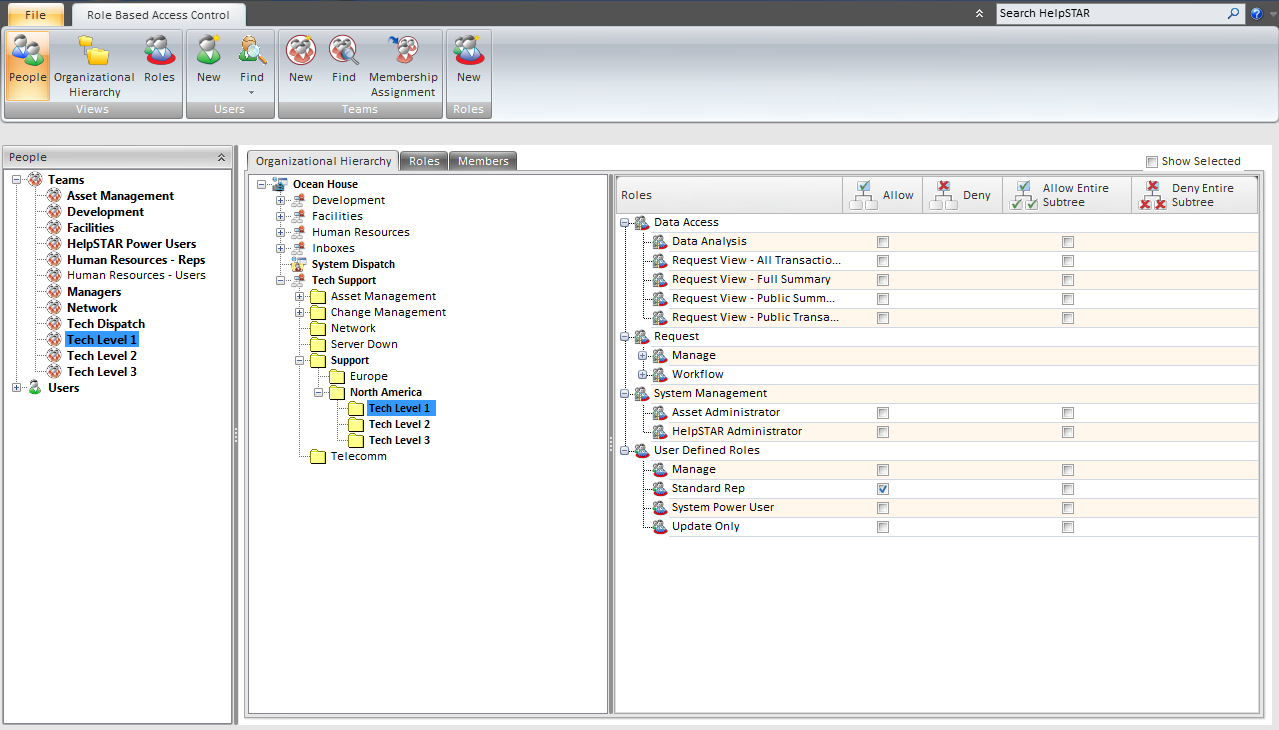
1. Ribbon Toolbar

Views
-
People – Manage permissions and privileges by Users and Teams
-
Organizational Hierarchy – Manage permissions and privileges by your Organizational Unit Structure
-
Roles – Manage permissions and privileges by roles in HelpSTAR.
Users
-
New – Add a new user in HelpSTAR
-
Find – Locate an existing user in HelpSTAR to set privileges on.
Teams
-
New – Add a new team in HelpSTAR.
-
Find – Locate an existing team to set privileges on.
-
Membership – Add a user to an existing team.
Roles
-
New – Add a new role in HelpSTAR.
View Pane
-
Under the views options, you can select to manage Role Based Access Control by
-
People
-
Organizational Hierarchy
-
Roles
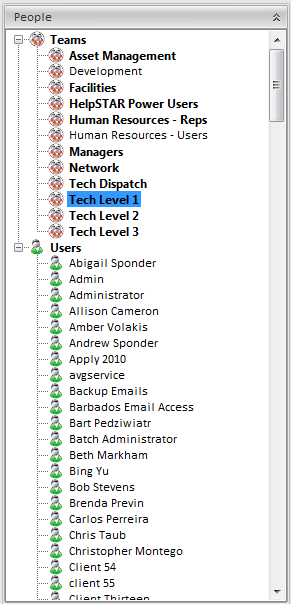
2. Role Based Access Control Detail Pane
Depending on the view selected, this pane will show you associated permissions per the object type selected in your view. For example, if a team is selected, all associated OUs and queues will be bolded in this pane.
Below is the detail pane that will appear if selected to view by People.
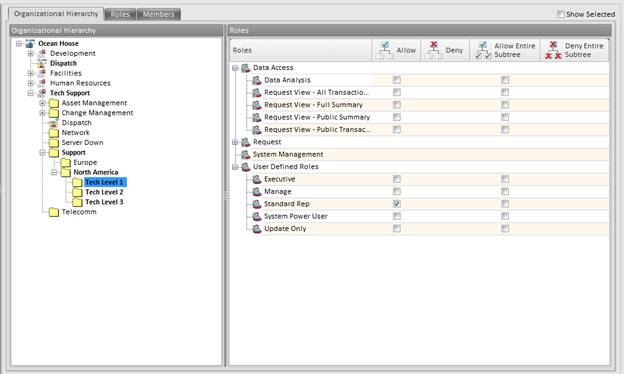
Per team or by user, you can select the OUs or Queue Folders they have access to in HelpSTAR. You also have the option to select a custom role. By setting the permissions, you define what a Support Rep has access to do on a service request in that location. For more information on roles, view the Roles Index.
You can toggle between tabs to view roles associated with each queue as well as members of each team.
![]()
3. Managing Roles
Managing roles is a matter of knowing the “who's”, the “what's”, and the roles you wish to implement. The “who's” refer to the people and teams. The “what's” are the OUs and folder. The roles are the roles you wish to assign. The order in which the “who's”, “what's”, and roles are set is up to you and what you are trying to implement. For example, you can select the Administration OU, select the Data Analysis role, and then select teams and users you would like to have that role on that OU. You could have also first chosen the Data Analysis role, selected a user or team and then selected the OU and folders on which you would like them to have this role.
Complete the following steps to assign and manage roles within HelpSTAR.
-
-
From the Setup/Administration tab, go to the Access Control task group and click on the Role Based Access Control icon.

-
-
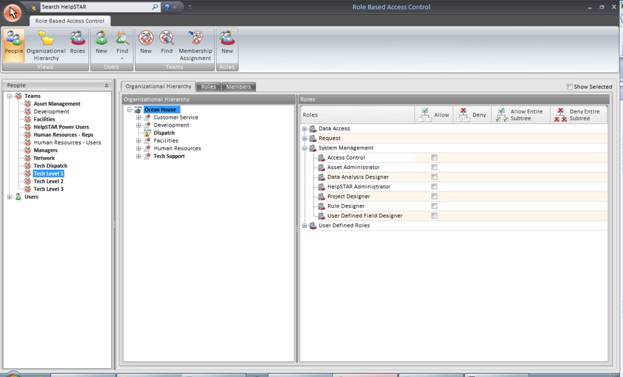
Select the desired starting point by clicking the People, Organizational Hierarchy, or Roles icon from the Views task group. This will display the selected objects within the box on the left. For Example: selecting People will display all Teams and Users.
-
Select the team, user, folder, or role you wish to start with. If you are unable to find the object, utilized the search options on the ribbon.
-
Once selected, the main area of the windows will display two tabs (a third tab will be displayed regarding team membership if a user or team was selected in step 3). Choose a tab and select an object. For example: If you have selected a team or user, you can choose the Organizational Hierarchy tab and select the OU or folder. Notice that some objects on this tab may be bolded. This conveys which objects already have roles set.
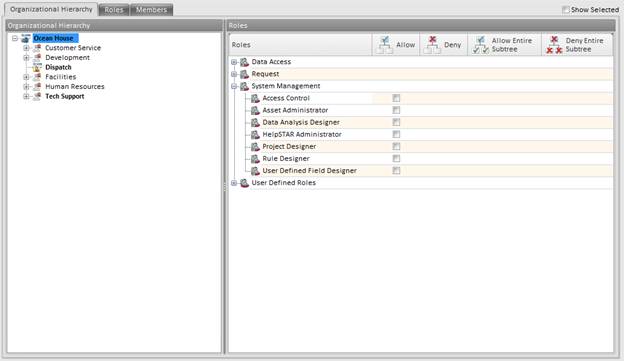
-
Click the check box(es) of the appropriate objects. For example: With a team and folder selected, you can select the desired roles. Note: Allow Entire Sub-tree will grant the role to the selected OUs or folder as well as all others below.
-
Click the Save icon in the Quick Access Toolbar to save changes.
See Also:
Manage Existing Organizational Hierarchy
Web Portal for the Privileged User