Scheduling the Import Utility
Overview:
Once you have run the Import Utility, you can save settings for a future import. You can also integrate Windows Task Scheduler to run the import on a scheduled basis. Import Settings that can be saved are:
-
Your Source File location
-
Import Type (users or assets)
-
Mapped Fields
Part 1 – Saving Import Settings
To save your Import Settings, perform the following:
-
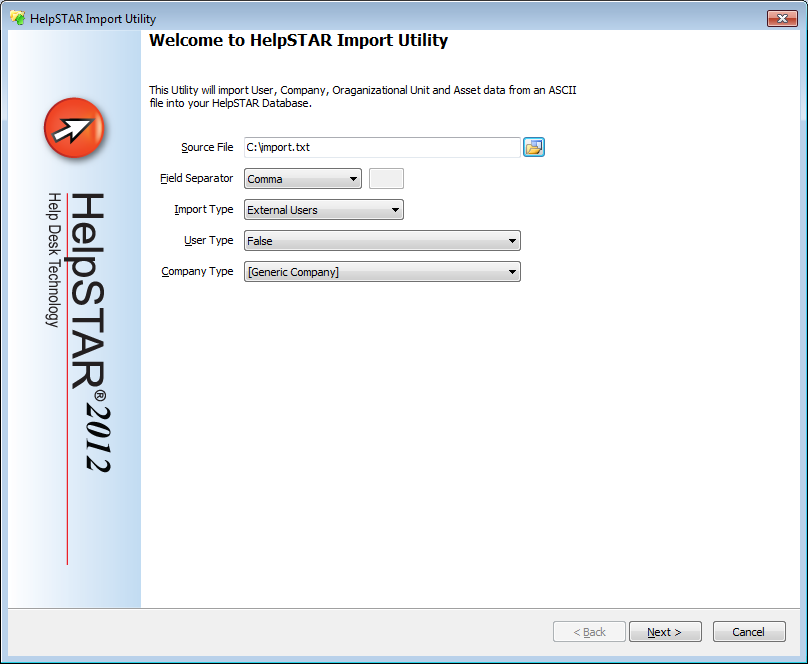
Upon your first import, select a source file to import into HelpSTAR.
-
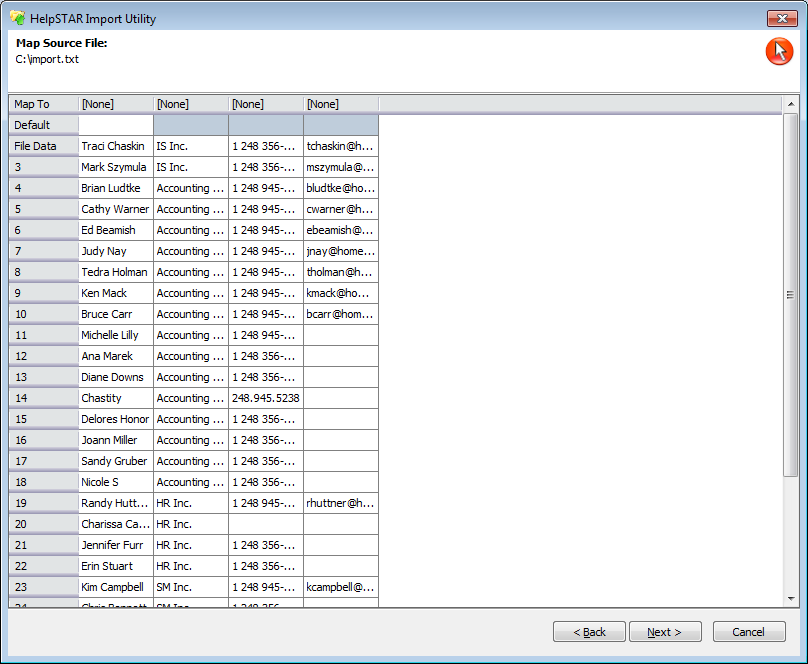
Map the source file fields to HelpSTAR’s object properties.
-
-
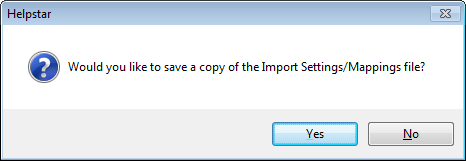
Once you click on Next, you will receive the following prompt. Click Yes to save settings.
-
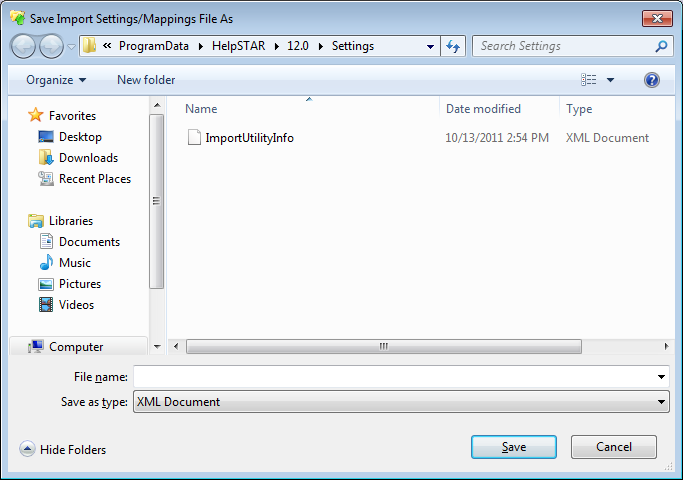
You will then be asked to selection a location of your Import Settings file. It will be saved in XML format. Once a name is entered, click on Save to use this file for future use.
-
Once your Import Settings are saved, we can use this XML to configure a scheduled import.
Once you have an Import Settings file available, you can set a schedule on your Import. From this point, you can cancel your current Import Utility session or continue with a manual import.
Part 2 – Creating a BATCH File
You must first create a BATCH file that will be run when scheduling the import. In Notepad, create a file with the following script:
{Import Utility EXE file location} "/username:{HelpSTAR User Login}" "/password:{HelpSTAR Password}" "/MappingFilePath:{File Path for Import Settings Files created in Part 1}"
Sample File:

Once your file is complete, save with an .bat extension.
Part 3 – Creating a Windows Task for Scheduling
-
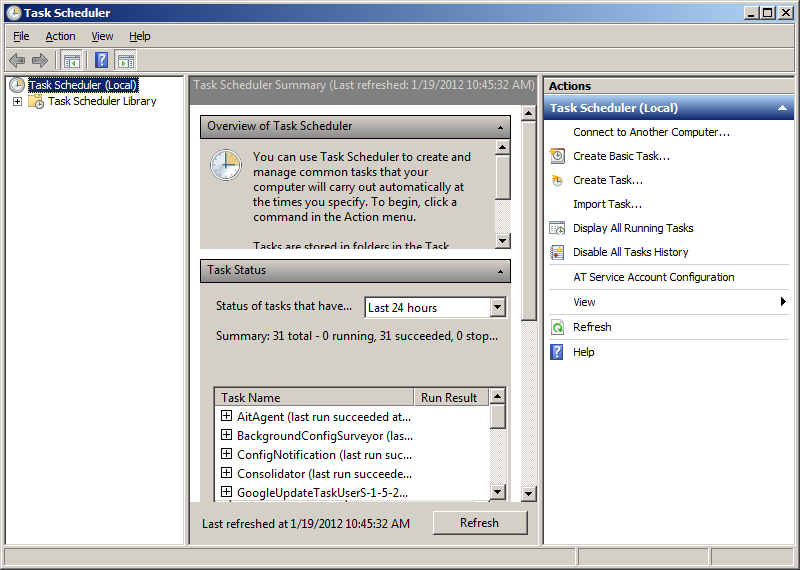
Open Task Scheduler by clicking on Start > All Programs > Accessories > System Tools > Task Scheduler.
-
-
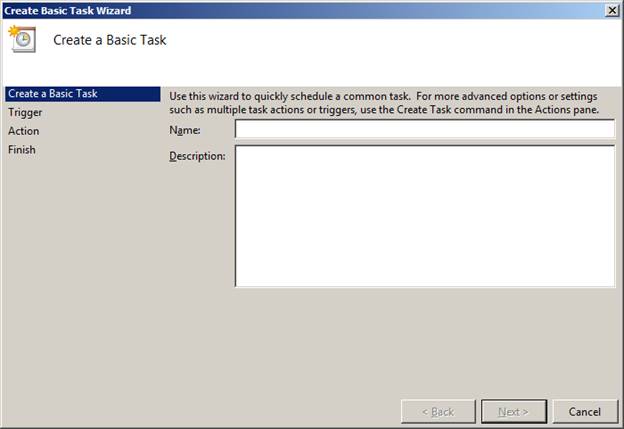
Under Action items, select Create Basic Task. The wizard will open:
-
-
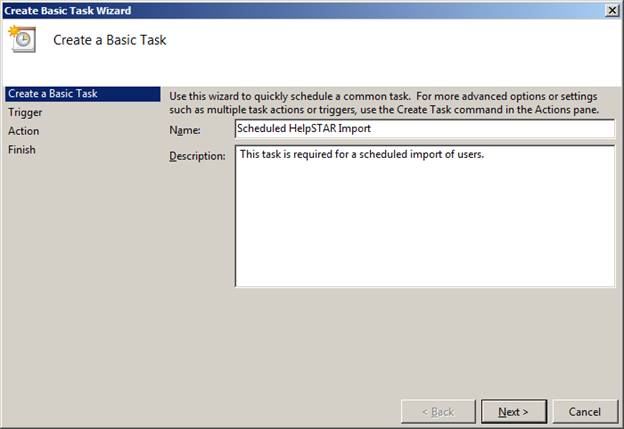
Enter a name and description for this task. Click on Next to proceed.
-
-
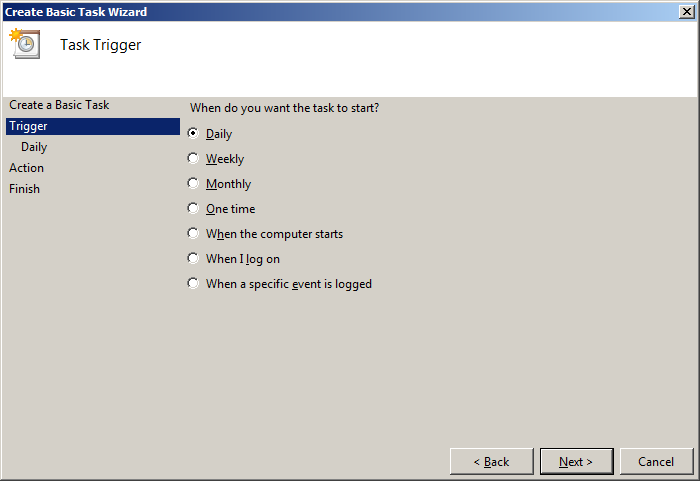
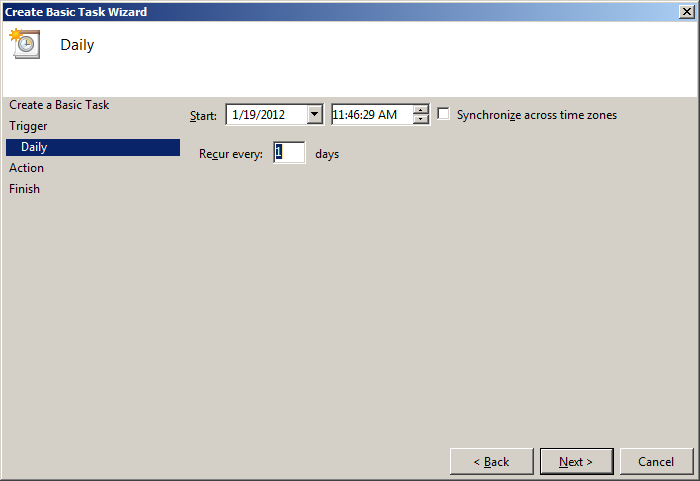
Under Trigger, set a schedule of how often you would like this task to run. Click on Next to proceed.
-
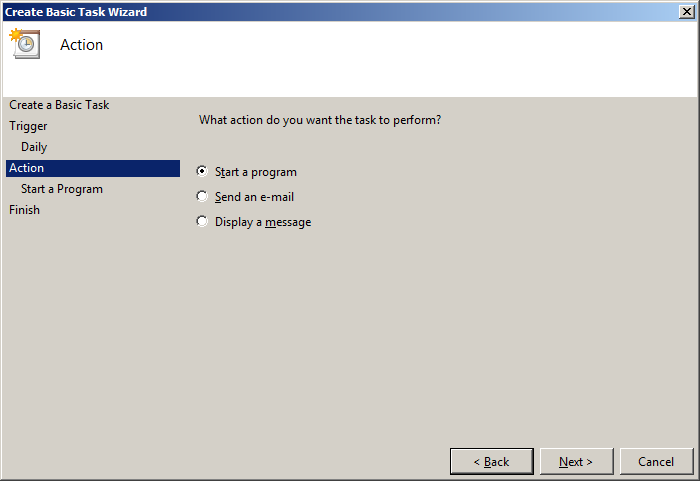
Under Action, select the Start a Program option. Click on Next to continue.
-
-
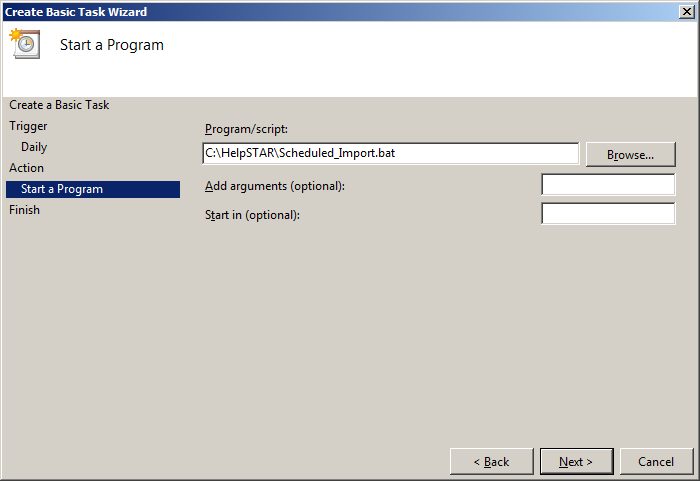
Under Start a Program, select the BATCH file created in Part 2. Click on Next to view a summary of this task.
-
-
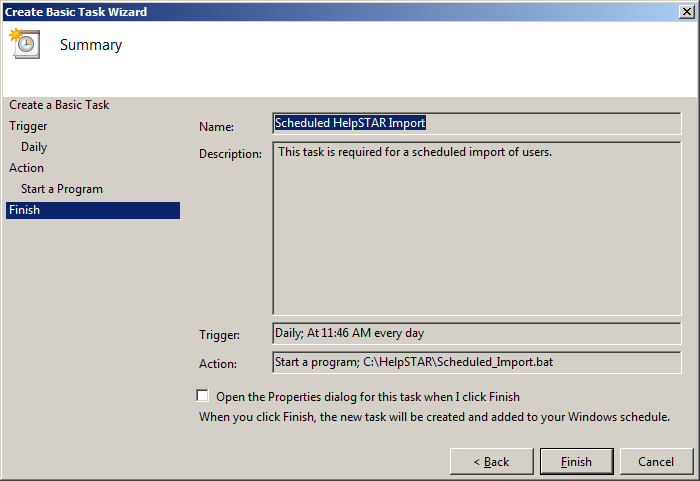
Under Finish, you will view a summary of the task you have just created. Click on Finish to complete creating this scheduled task.
-
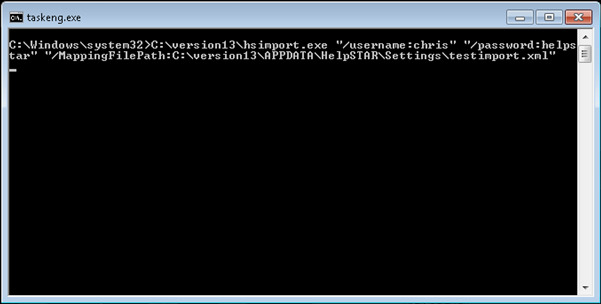
When you scheduled import runs, you may see the following command prompt run on your machine:
See Also:
Adding a New Organizational Unit
Back up Your HelpSTAR Database