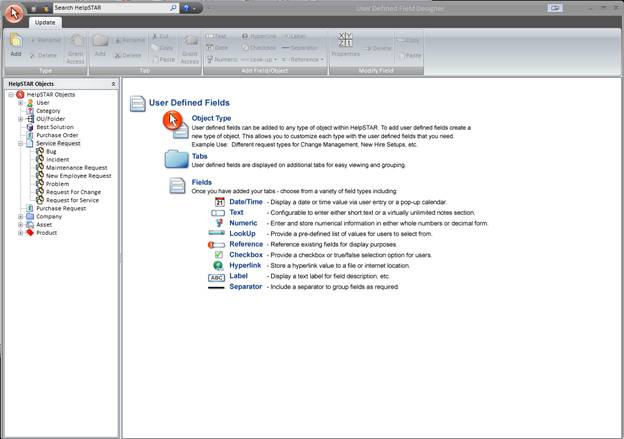
A User Defined Field is a storage field that you design to store information relevant to HelpSTAR objects. Selecting this button will allow your users to create fields (which currently are not available in HelpSTAR) to specify information that you need to view, store and report on.
Create new forms and fields use User Defined Fields


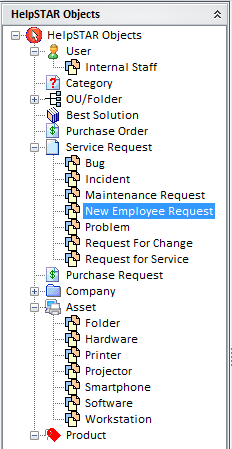
This section shows you all of the HelpSTAR Objects for which you can create UDF’s. If you expand one of the objects, you will see the Request Object Types associated with it. If you click on the type, you will see all of the Tabs and Fields (assuming you have created them) in the Form Design View. If you have not created them, the Form Design View screen will be blank.
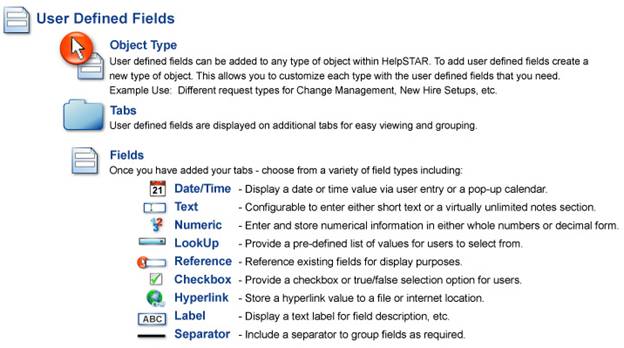
The above image is the default view of the Form Design view. When you select or create a Request Type and add tabs/fields, you will see a window similar to the following:
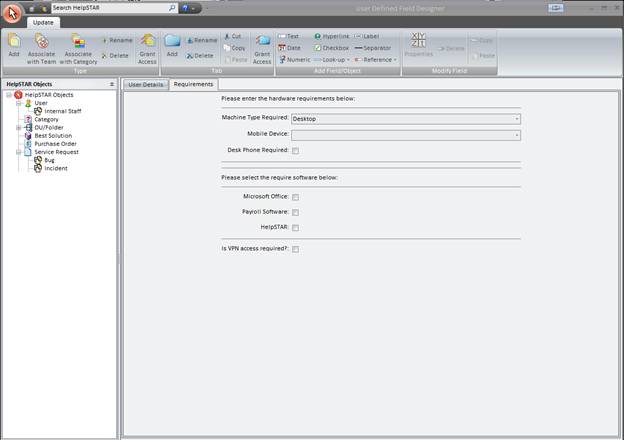
Let’s create a UDF for the following Situation:
SouthBreeze Inc. is using HelpSTAR for both Internal and External users. SouthBreeze Management has decided that employee id’s (which are alpha-numeric) should be added right when an internal user is added to the HelpSTAR system.
In order to create a UDF for this situation, do the following:
1. In the Object Tree-View, highlight User
2. In the Toolbar, select ’Request Type - Add’. You will notice
![]() in the
tree-view. Specify a name for the request type. For this example,
”SouthBreeze Employees” will be used.
in the
tree-view. Specify a name for the request type. For this example,
”SouthBreeze Employees” will be used.
3. Now that the Request Type has been created, we need to create a Tab. In the Toolbar, select ’Tab - Add’. Now select ’Tab - Rename’ and Specify what you would like the tab name to be. For this example, ”Employee Information” will be used
![]()
4. Now that the Tab has been created, you can now create your form by adding in fields. For this form, we will require a text field. In the Add Field/Object Toolbar grouping, select ”Text”. The following window will appear:
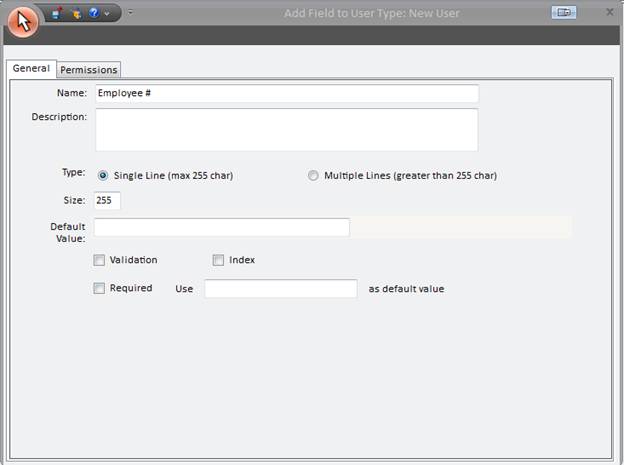
Please note that there are two tabs available when adding a field. General and Permissions.
The General tab will allow the user to enter the specified information required for UDF.
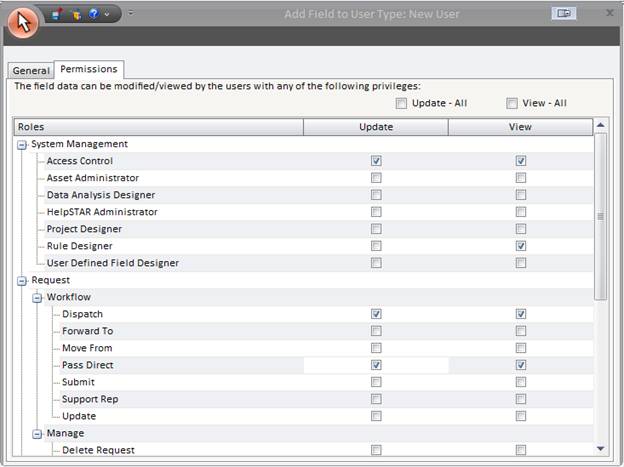
The Permissions tab will allow you to set who can edit/view/update the specific field.
5. We will first be completing the General tab.
6. In the ’Name’ field, enter in the description text that you would like to appear in front of actual field. For this example, we will use ”Employee #”
7. The description field is optional. This section allows you to describe what this field is for. This field is internal and will not be seen when entering information for the UDF. For Type, we will select Single line because we only need to enter in one line of information.
![]()

8. For size, you can enter the number of characters which will be sufficient for storing this information in this field. For this example, we will enter 10.
9. This field is required. Please note: for all existing users, you will have to enter in a default value, and update them with their real information. For this example, we will use ”A1AA111”
The final screen will look something like the following:
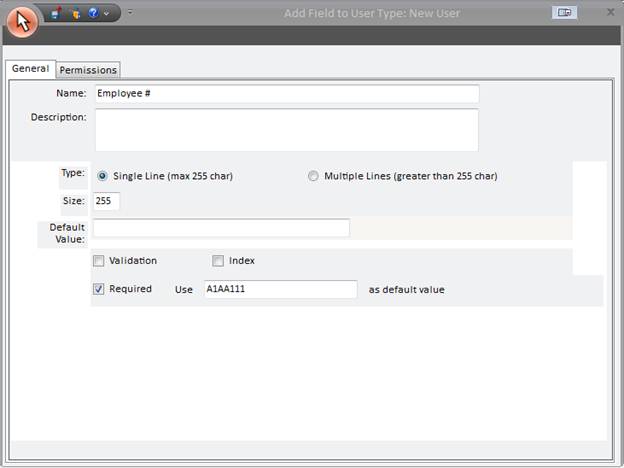
10. Once you have validated that this information is correct, you can select the Permissions tab. Here you can assign permissions to Update and View based on the privileges that users have been assigned.
11. Select Save and you will go back to the Designer screen. See image below.
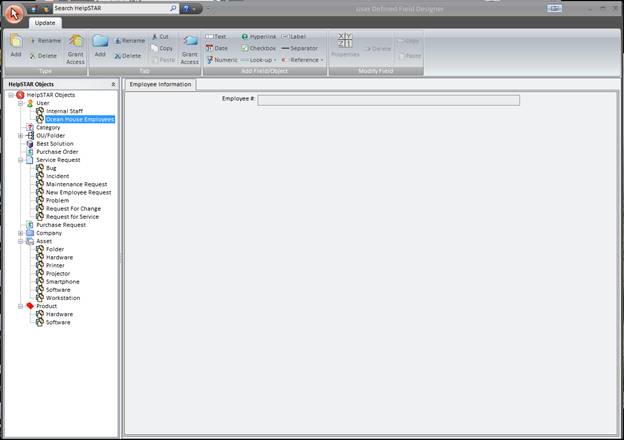
12. Select the Save and Exit Button
You have now created your UDF. Now let’s see how you can access it.
To access your UDF, do the following:
1. Go to the Setup/Administration tab
2. Select ’Manage - User’ and select ’Add New’.
3. Set the ”User Type” to SouthBreeze Employee.

4. Once you select ’SouthBreeze Employee’, you will notice a new tab with the tab name ’Employee Information’.
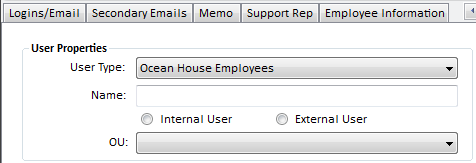
5. Select the Employee Information tab, and you will see the field that we created.

You have now accessed your UDF.
See Also:
Business Rules For Incoming Emails