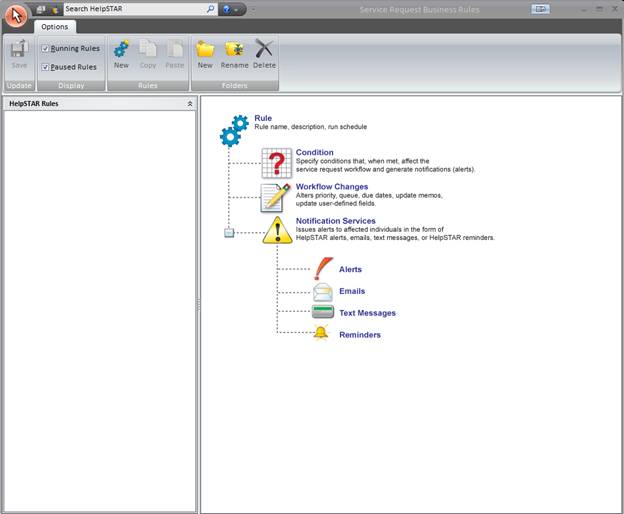
This section allows you to automate standard operations and customize your workflow.
Business Rules can automate Important procedures

This section contains 3 distinct work areas:

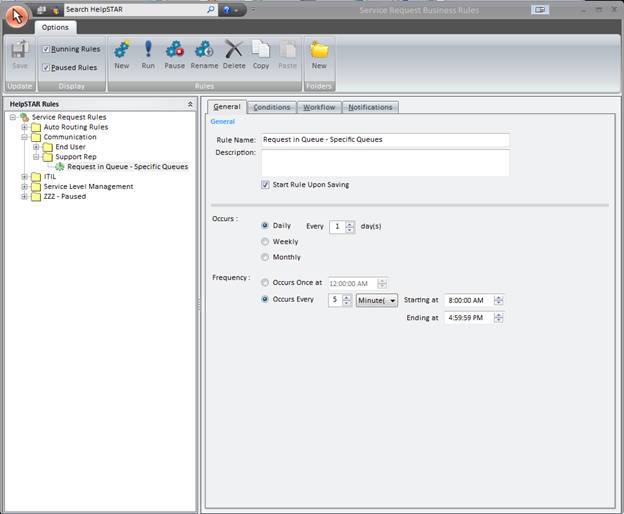
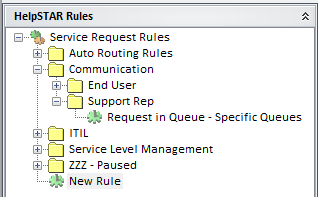
This section will list existing business rules that have been created. This section will display Running Business Rules or Paused Business Rules based on what is selected in the Display section of the Options.
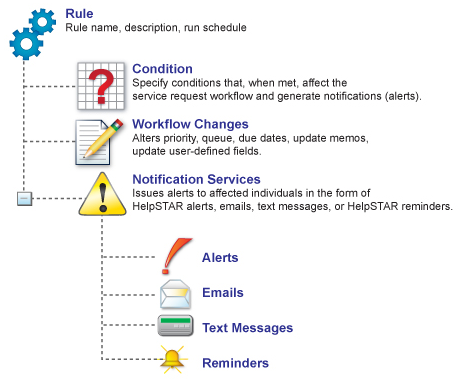
The above image is the default view of the Business Rule Design Area. When you select or create a Business Rule, you will be prompted with the General settings of a business rule. It will look similar to the following window:
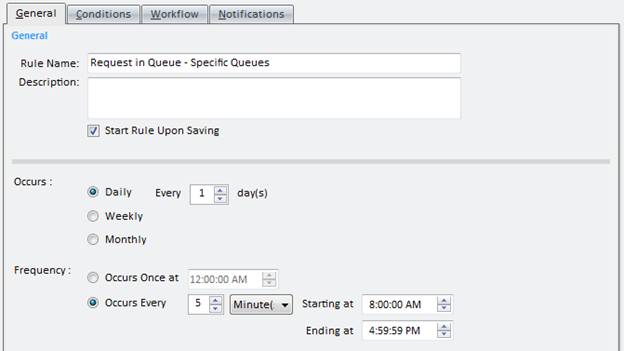
When creating a Business Rule, you should determine the following:
Let’s create a Business Rule for the following scenario:
Elizabeth Hawthorn, a HR Manager at SouthBreeze Inc., uses HelpSTAR occasionally and does not regularly scan her Workspace. She would like to be informed when a request is forwarded to any of her queues.
The Business Rules functionality is included in her HelpSTAR Advanced Enterprise edition. She has decided a business rule would best address her situation. She would like to set up a rule that would notify her when something is forwarded to her Support Rep Specific Queue.
In order to create a Business Rule for this situation, do the following:
1. Select the ’Add’ button in Options and you will be prompted by the following in the Design Area:
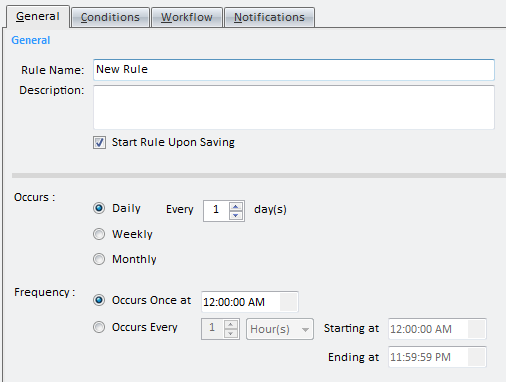
2. For the General Tab, enter the relevant Rule Name, and a short description of the purpose of the rule.
3. By default, a rule will run automatically upon creation. If you prefer for the rule not to run upon creation, uncheck "Start Rule Upon Saving" before saving the rule.
4. In the Schedule section, select how often you would like this rule to run. In this case, we will enter the following:
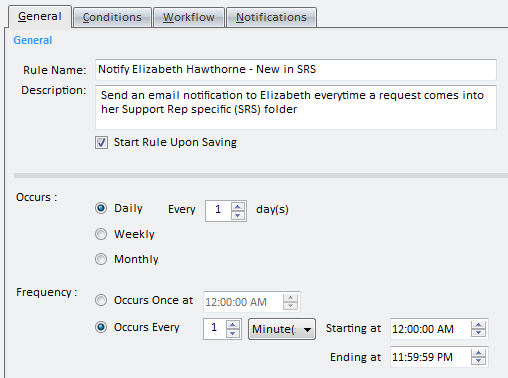
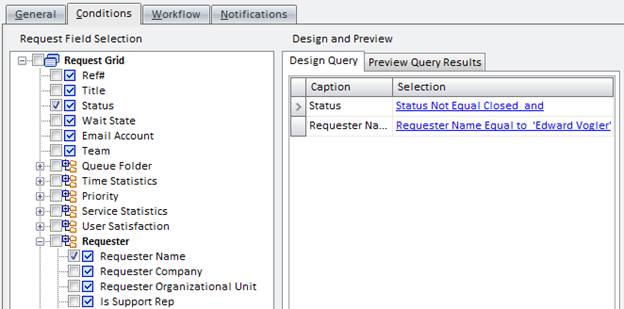
5. Once complete, the Conditions Tab would be the next step in creating your rule. In the Conditions Tab, we will specify the requirements a request must meet for a business rule to run on it.
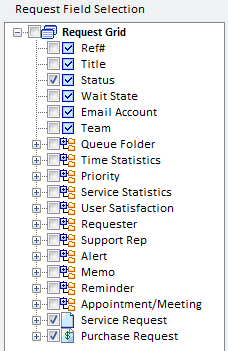
This section allows you to select database fields to define criteria for to business rule to run on.
i.e.
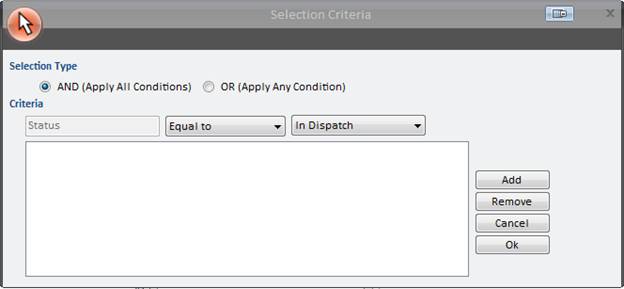
If you would like to filter by a certain request status (Closed, In Dispatch, etc.), you would check ’Status’. Then in the ’Fields and Conditions’ section, you would further specify which status you would like to filter.

This section displays the database fields you selected in the ’Tree-view of Database Fields’ section, and allows you to view/set the following options:
i.e.
Status is not equal to Closed
Status is equal to In Service
Since Elizabeth wants to receive an email when a request goes into her Support Rep Specific queue, we have made the following selections:
6. Preview Result Set allows you to view which requests will be affected by your Business Rule. This is designed to provide you with confirmation that your business rule is set up correctly. If you are not receiving the desired Result Set, then it is possible your business rule may not be set up correctly.
7. The Workflow Tab allows you to select request and routing options.
You have the opportunity to select the following options.
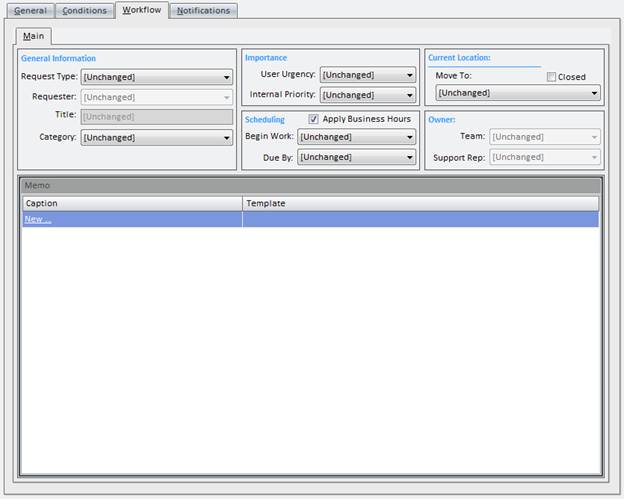
All requests that meet the Conditions that were set on the Conditions tab will automatically inherit the options you set in this section.
i.e.
If a request does happen to go into Elizabeth’s SRS queue, and business rules are running, that request will change to show the options you select here. If you set Priority to Critical from this section, all requests that meet the conditions for this business rule will inherit this priority.
Asset/Discovered Item - This is not editable by default. This is to prevent a business rule inadvertently changing the item of a request.
When you select ’New’ option in the Memo - Caption section, you will be prompted with the following:
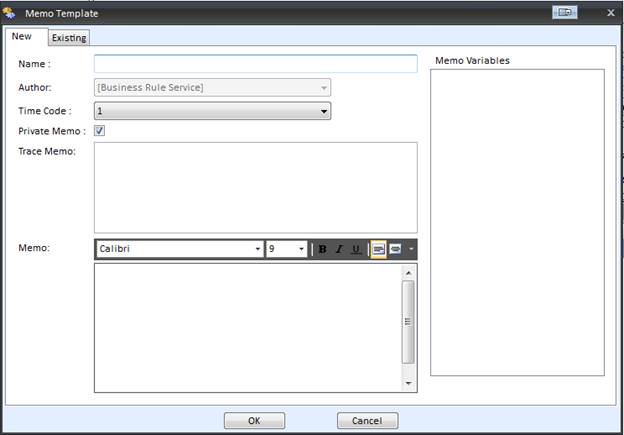
This section allows you to select ’Variables’ (such as ’Reference Number’, ’Requester Name’, or ’Support Rep Name’) in the ’Memo’ field, which will auto-populate when the business rule runs.
Once you have completed entering in the new memo template information, click the OK button. This Memo Template will be added to the Memo section.
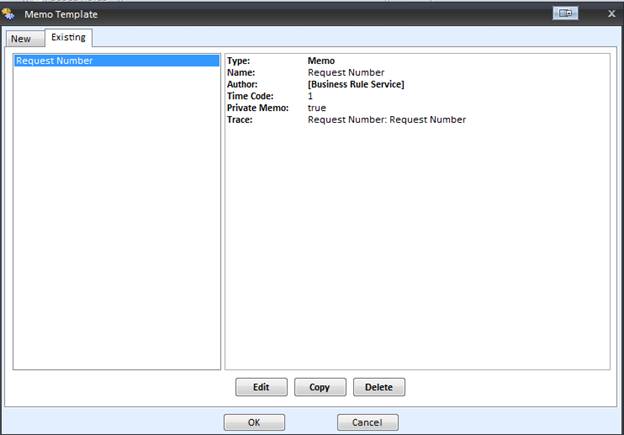
This section allows you to select a memo template that already exists. You also have the option to do the following:
In the Workflow section, for this example, we will set ’Priority’ to High and ’Begin Work’ to ASAP.
The Notifications Tab allows you to set up notifications you would like to send when this business rule runs and affects a request. You can have multiple notifications for one business rule.
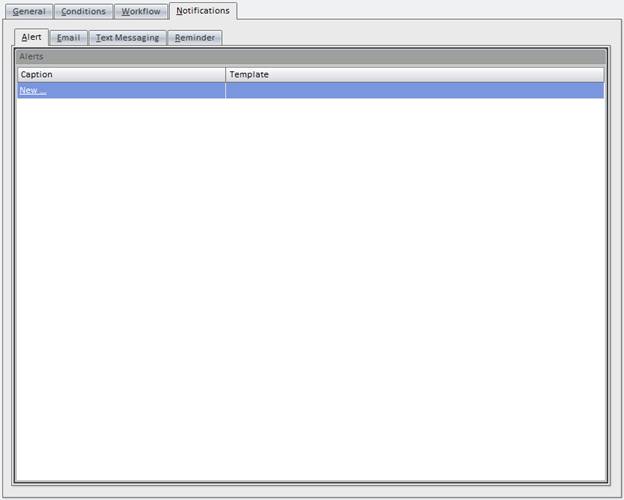
There are four types of Notifications:
For this example, we will use email notification. In the email section, click on New.
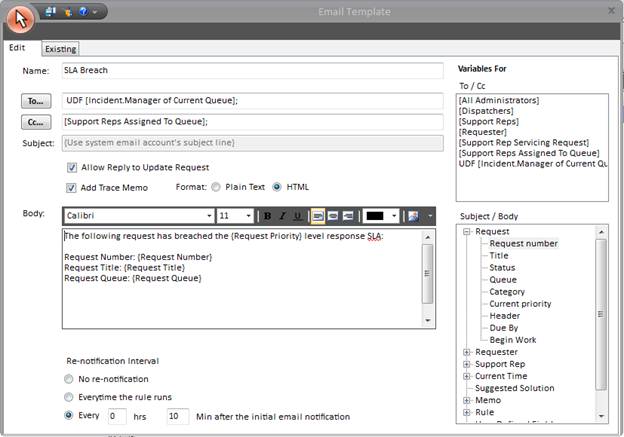
i.e. Send to All Dispatchers
This allows you to select a grouping of people to send the notification to, without having to individually select each dispatcher.
i.e. Send to All Dispatchers
This allows you to select a grouping of people to send the notification to. This eliminate the needs to individually select each dispatcher.
i.e If you wanted the request number to show in the subject, you could select the Reference Number variable
This section allows you to add ’Variables’ for the following:
Once you have completed entering in the new email template information, click the OK button. This Email Template will be added to the Email Notification listing.
Note: You can send more than one notification for a rule. For example, if you wanted to send another email notification to Elizabeth’s Manager to inform them that she has requests in her queue, you could configure another notification.
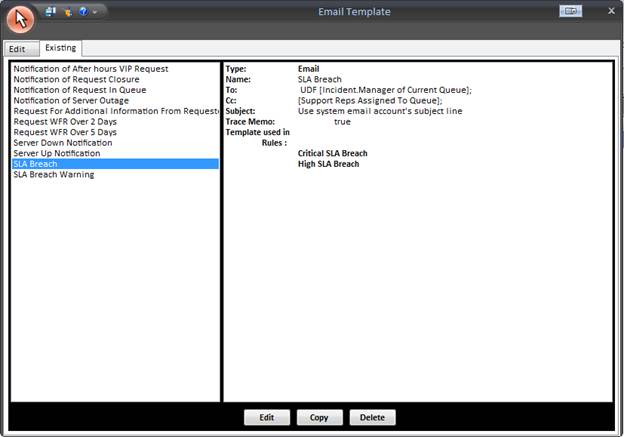
This section allows you to select an email template that already exists. You also have the option to do the following:
When you have completed entering the information for the first Email Notification press OK. You can configure a second notification if necessary.
To configure another email notification, click New.
In this case, we only need to send one email to Elizabeth Hawthorne, so we can go ahead and save the business rule.
Once you saved the rule, you will notice that ’ Run’ is now active. If you are ready to run your Business Rule now, select this button.
See Also:
Designing Business Rules for Emails