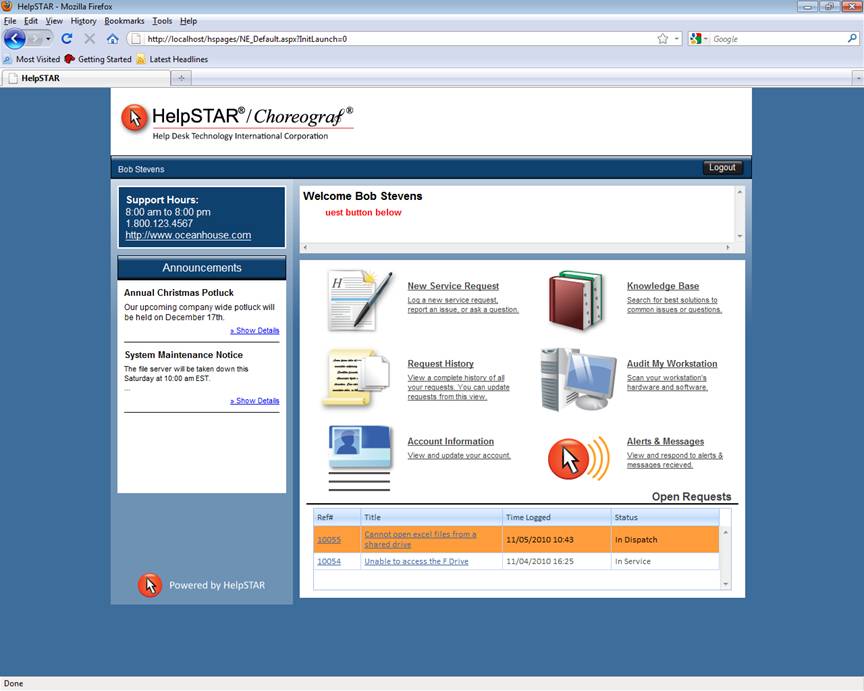
HelpSTAR will allow you to customize the look and feel of your .Net Web Interface. You will have the option to customize the color options as logos that appear on your End User Web Portal. You can also modify which options are available via the Web Portal.

Once the Web Portal installation is complete, options to customize the Web Portal will be launched. You can complete your customizations at this stage. However, should you decide to customize or modify the theme of your web portal at a later time, you can launch the customization options from the following location:
\HSNET\WebUIThemeCustomize.exe
Note: For Internet Explorer, it is recommended to upgrade version 7.0 or higher to view the best quality of your customizations.
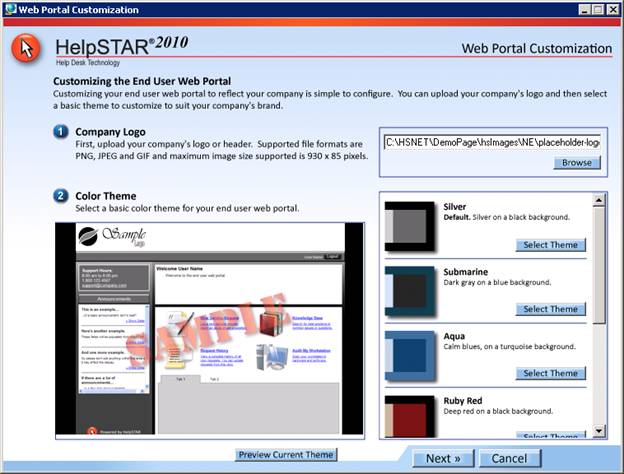
To complete your customizations, perform the following:
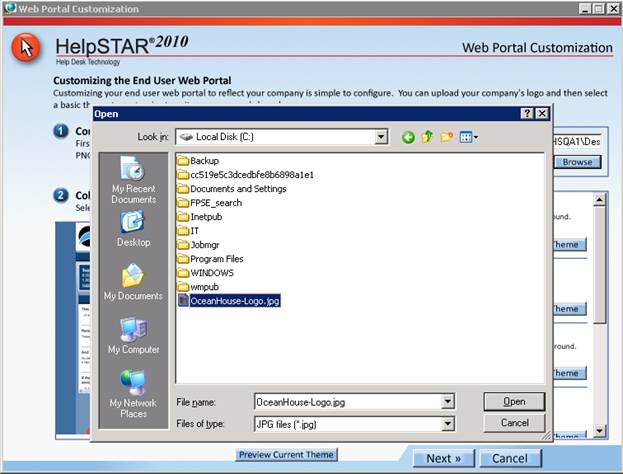
Company Logo - Upload your company logo to your Web Portal. Click on the Browse button to locate your image file. Click on the Open to insert the image.
Color Theme - Select a basic color theme to match your company logo. Scroll through available options and click on the Select Theme button for your desired theme.
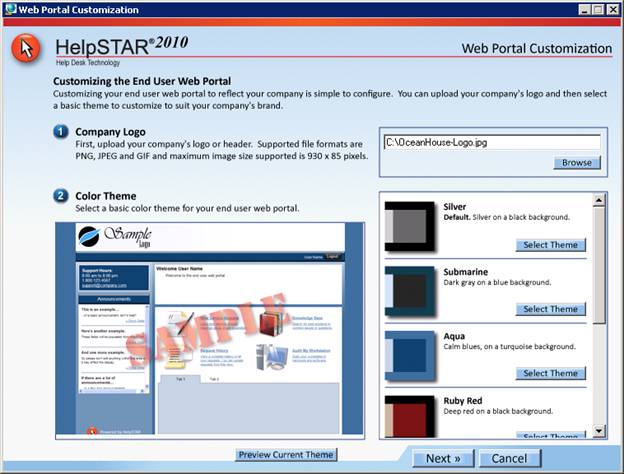
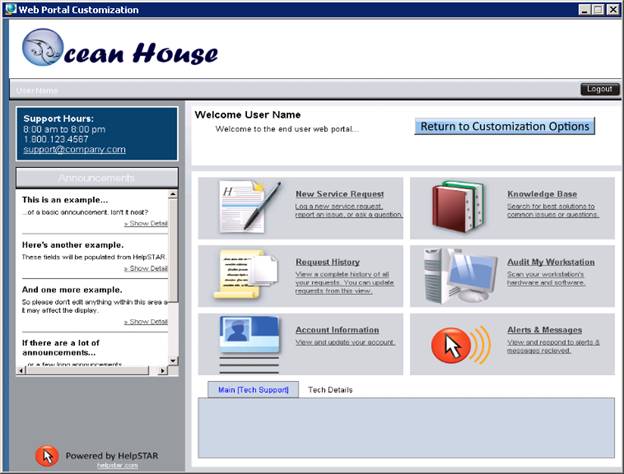
Once you have returned back to the customization options, click on Next to continue with available options.
Advanced Color Options - Further customization options for the main/background color of your web portal can be performed at this step. Select advanced colors to further match your company theme or logo.
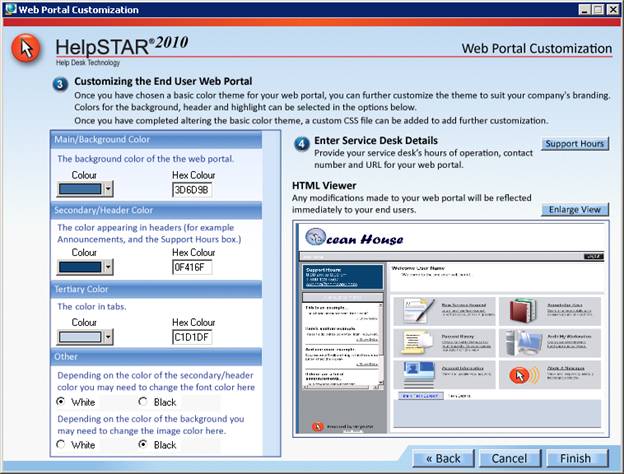
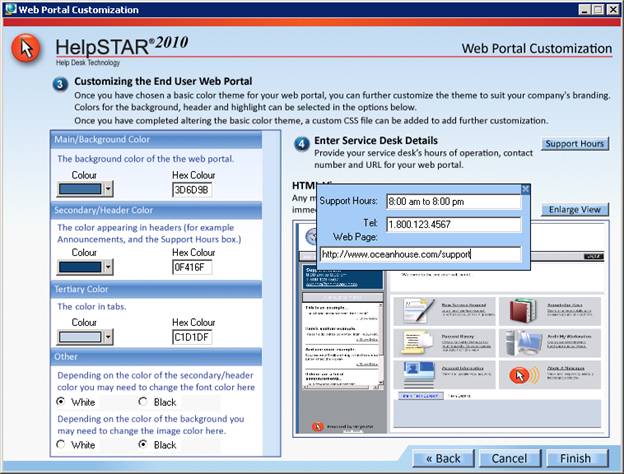
Service Desk Details - Click on the Support Hours button to enter the available hours of support, contact phone number and URL for the help desk.
The End User Web Portal can be configured to allow new users to create their own accounts in HelpSTAR.
Login to the HelpSTAR Web Portal as a Privileged User. Once logged in, select the HelpSTAR Customization Tab.
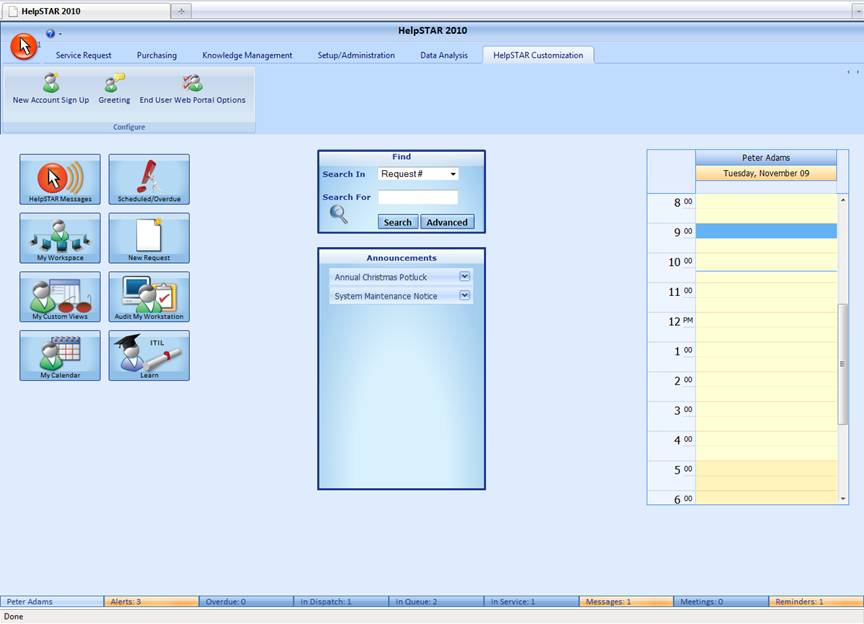
Under the Configure options, click on “New Account Sign Up”.

A pop-up window will appear as shown below. Click on the “Allow a new user to sign up through the web interface as an:” option. Then select if the new account should be created as an External User or Internal User.
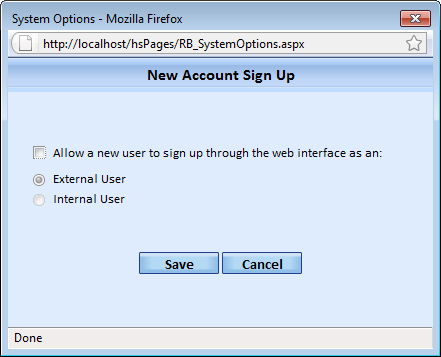
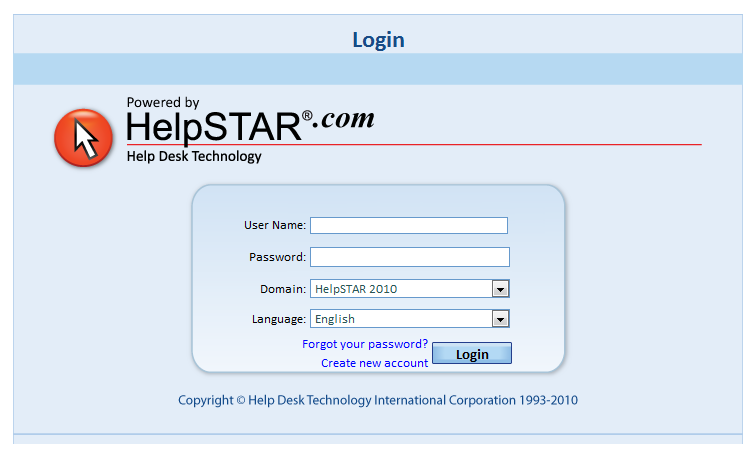
Once you have selected your options, click on Save to exit this window. Once your users access your web portal, the will have the option to create a new account on the login screen.
The HelpSTAR Welcome Message allows you add a custom welcome message that end users will see on their home page whenever they log into the Web Portal.
Login to the HelpSTAR Web Portal as a Privileged User. Once logged in, select the HelpSTAR Customization Tab.
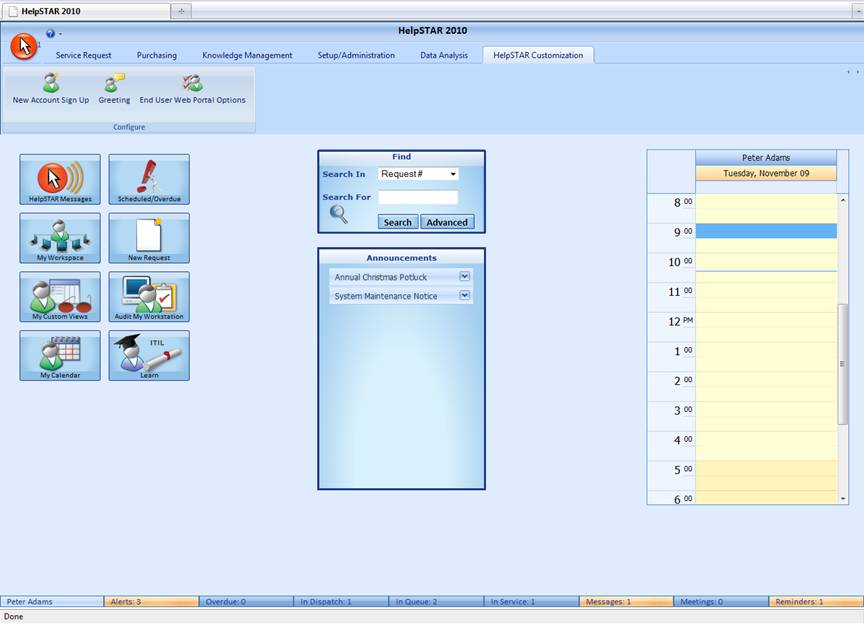
Under the Configure options, click on “Greeting”.

A pop-up window will appear to enter in your custom greeting message. This Greeting box supports HTML so you can customize your welcome message as you see fit.
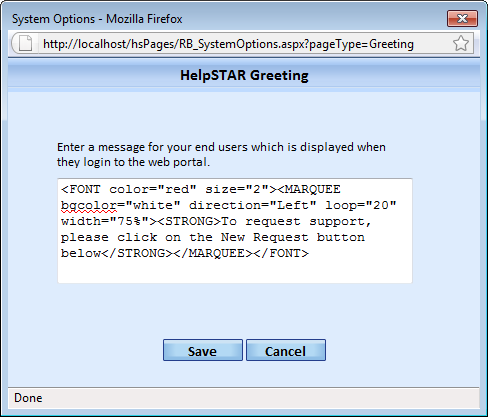
Once you have entered in your welcome message, click on Save. When a user logins to the web portal, the new welcome message will appear as shown below:

To restrict access to Web Portal options for end users, perform the following:
Login to the HelpSTAR Web Portal as a Privileged User. Once logged in, select the HelpSTAR Customization Tab.
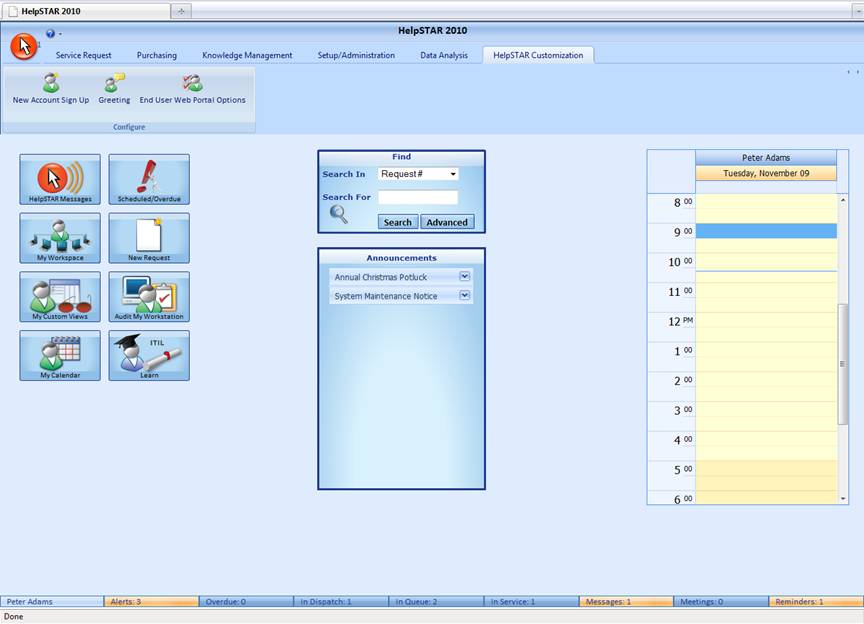
Under the Configure options, click on “End User Web Portal Options”.

The following options are available to enable or disable on the End User Web Portal:
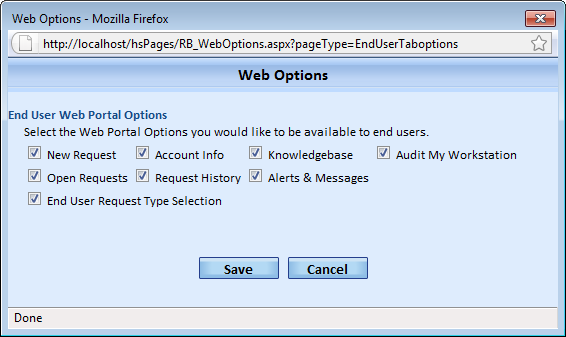
Allow Users to Submit a New Request
Allow Users to View and Update their Account Information
Allow Users to Search and View Best Solutions via the Knowledge Base
Allow Users to Audit Workstations
Allow Users to View and Update Open Requests
Allow Users to View Request History
Enable a Pop-up Box that prompts the User to Select a Service Request Type
Select the options you wish to include on the End User Web Portal and click on the Save button. Changes are reflected immediately on the End User Web. An End User will view changes to the web portal upon next login.
See Also:
Web Portal for Privileged Users
HelpSTAR's Windows Client Home Page