The Client Audit Add-in option has been added to improve HelpSTAR’s ability to collect information about the workstations on your network. This service is installed locally on the machine and allows audited information to be collected directly on the local machine. Information collected on the machine is then transferred directly to the HelpSTAR database, eliminating the need for the HelpSTAR server to obtain this information. The add-in service allows a machine to be audited not on the network and communicates directly with the HelpSTAR database.
To install the Client Audit Add-in option, perform the following:
On the machine in which the Client Audit Add-in service will be installed, navigate to the following location on the HelpSTAR Deployment server:
\HelpSTAR\HLPSTRCS\Install\
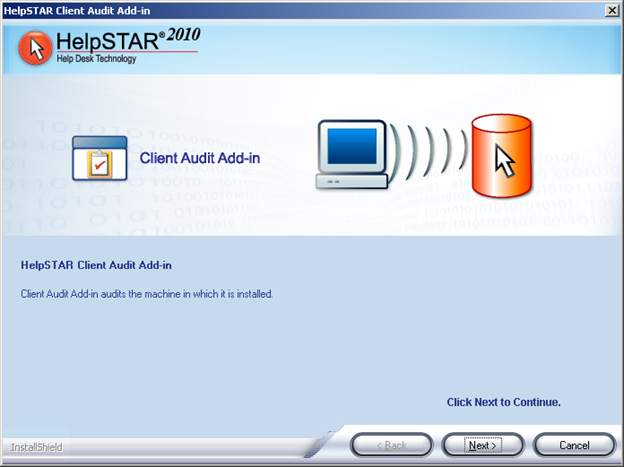
Launch the file hsauditclientcs.exe. Click Next when prompted.

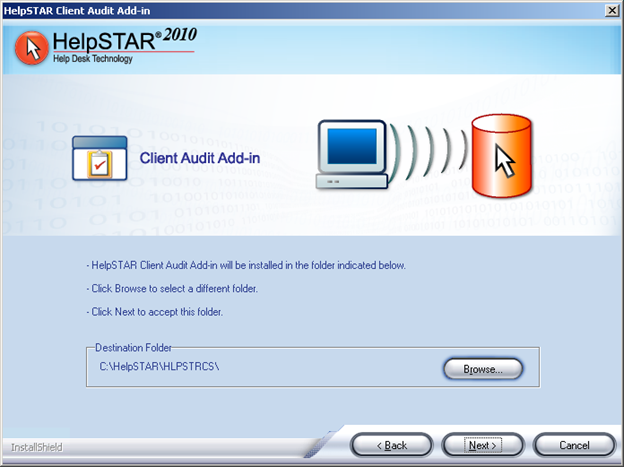
Specify the location in which the Client Audit Add-in files will reside. A default location will be specified (C:\HelpSTAR\HLPSTRCS). The location can be altered by clicking on the Browse button. Click Next when complete.

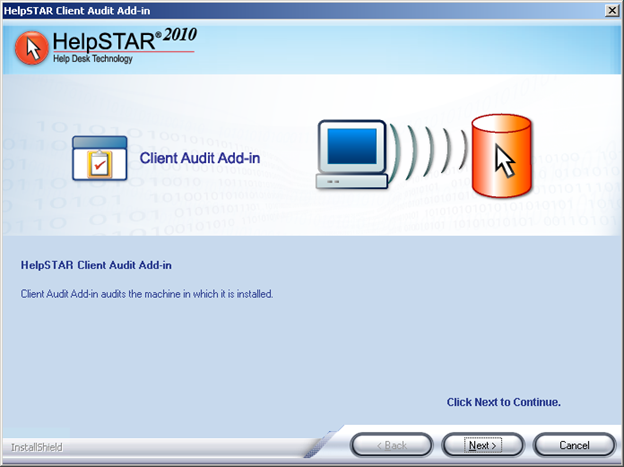
A confirmation prompt will appear upon successful completion of the Client Audit Add-in Installation.

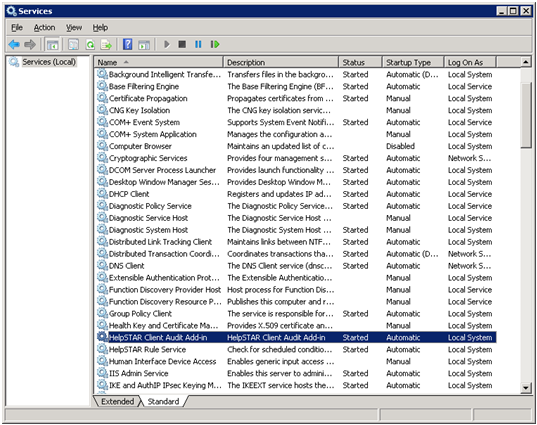
Once installed the service must be started in order for the add-in to audit at a configured schedule. This can be found in the services consoles as shown below:

Configuration:
In order for the Client Audit Add-in to perform on each of the workstations in which it is installed, the following prerequisites must be met:
The HelpSTAR Audit Service must be installed on the application server.
The user logged into the workstation must be a local admin on the machine and must be able to connect directly with the HelpSTAR database.
Note: The Client Audit Add-in service does not have to be installed on the machine hosting the HelpSTAR Audit Engine Service.
In order for the Client Audit Add-in to perform at a scheduled interval, a discovery schedule must be configured. Perform the following:
On the Configuration Management Tab, select “Configure Discovery Schedule”.
Select “New”.
In the General Section of the Configuration, name the configuration.
In the Schedule Section of the Configuration, select the interval in which this discovery schedule should be run.
In the Workstation Selection Section, specify the machines on that will be audited.
Save the configuration when complete.
See Also:
Troubleshooting Network Audits
Configure the Network Audit Service