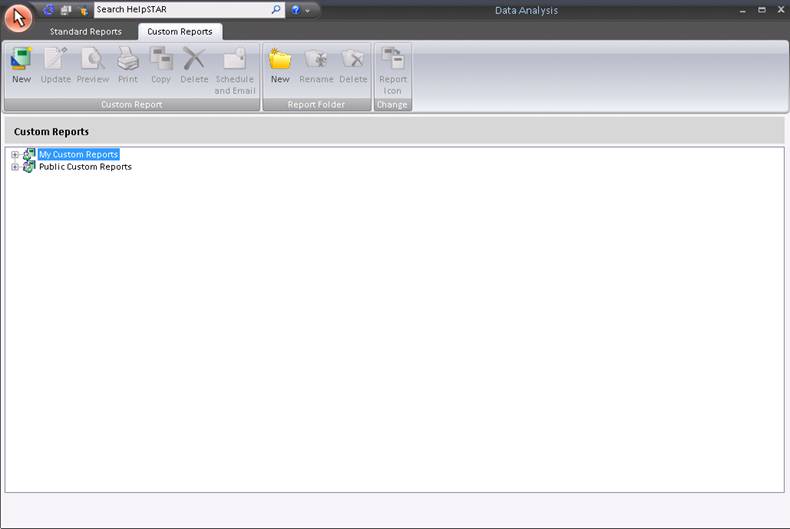
The Custom Report Designer allows you to specify your own selection criteria (filters) for most of the Standard Reports. You can control grouping as well as the headers and footers of a report. You must have the Report Privilege granted to use reports.
Custom Reports are based on templates that are derived from the Standard Reports. They can be run from either Windows client or the Web Portal.


![]()
1. Click on New Custom Report from the report selection listing and the following will appear:
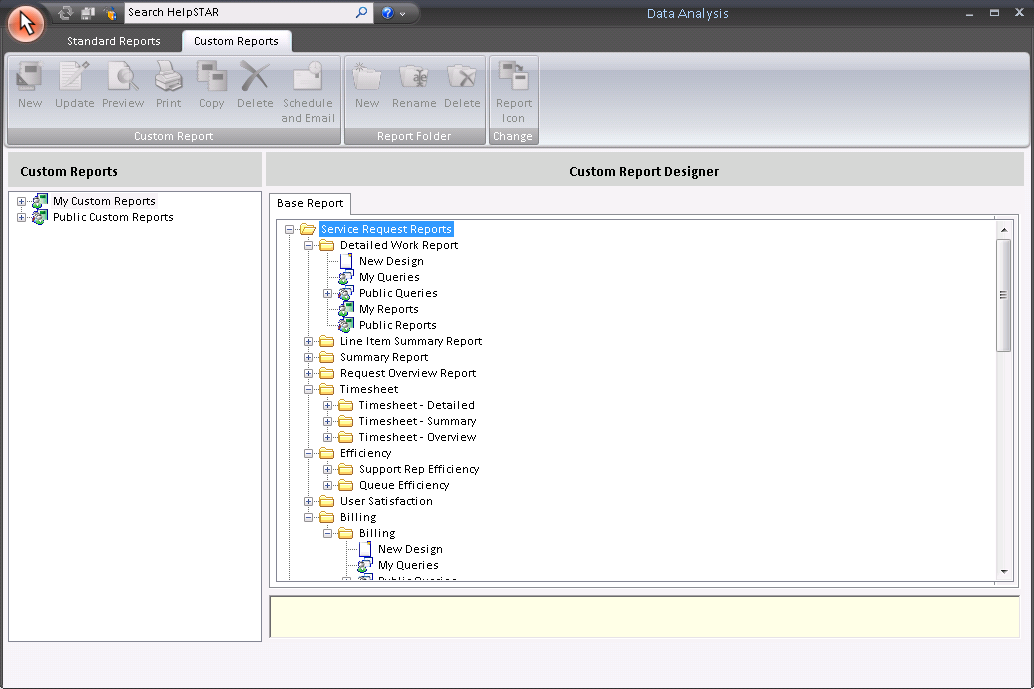
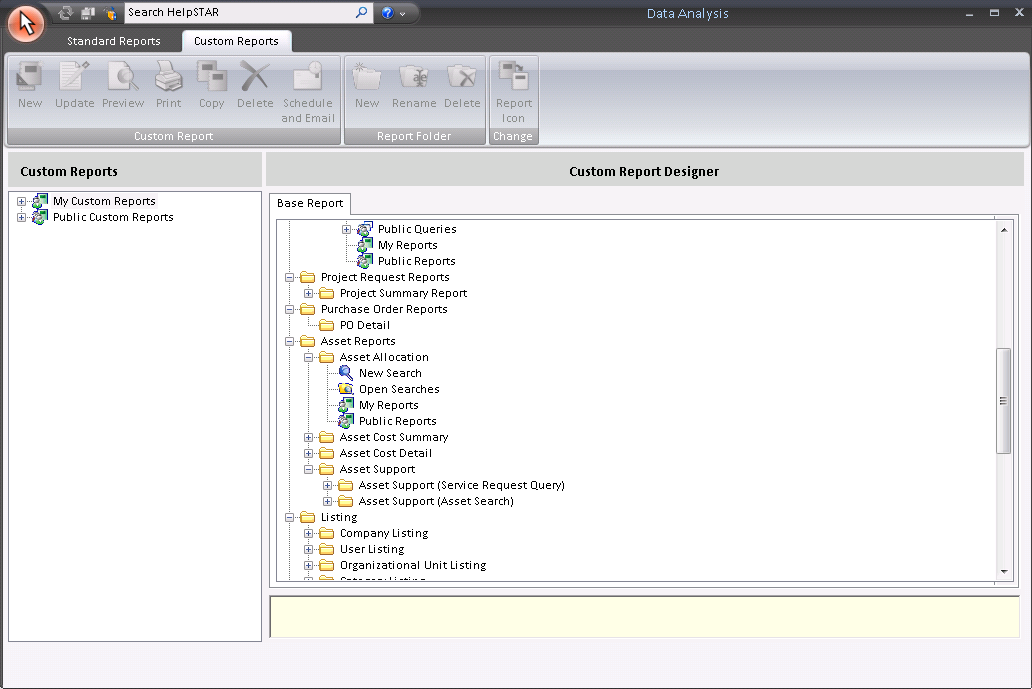
2. Expand the folders in the Custom Report Designer. Within each report you have the following options:

Note: Asset Reports will have the following Options:

3. Since we are creating a New Custom Report, select New Design, and you will see the following appear:
4. This section contains 5 tabs:
For Example:
If you have selected the Efficiency Report and would like to customize the report to filter a specific Support Rep, then you would select the following:
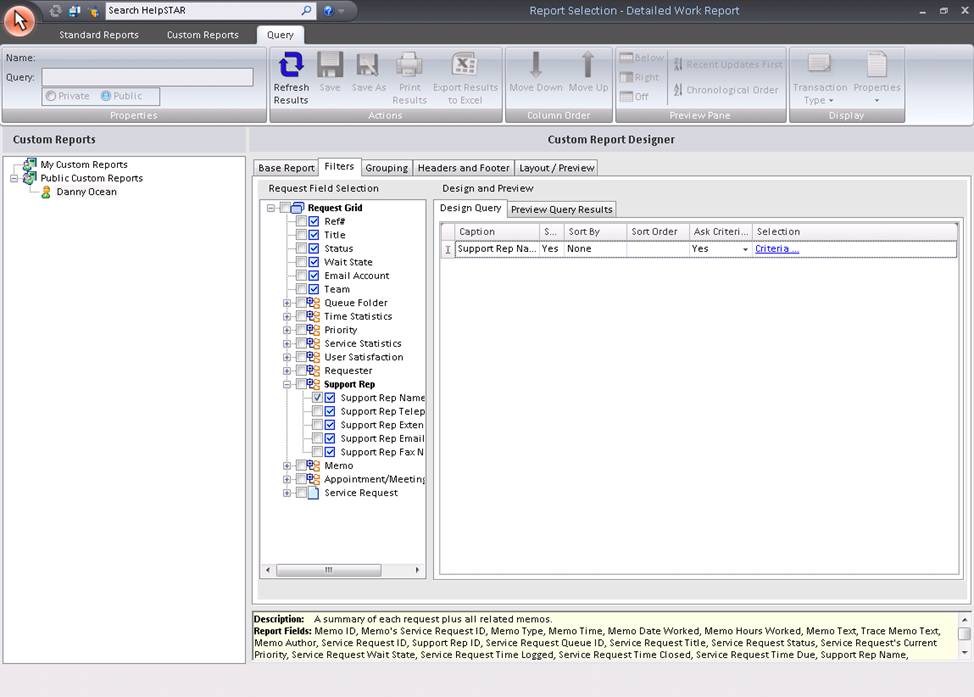
a. In the Database Field Listing section, you would select Support Rep Name.
b. If you would like to be asked to select Support Rep Name(s) every time you run this report, then you would set "Ask Criteria on Execution” to Yes.
Now, every time you run this report, you will see the following appear:
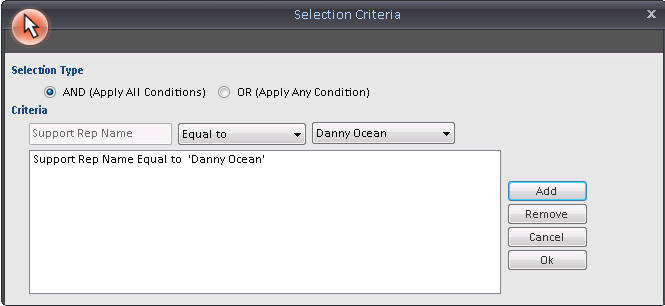
This form allows you to select the Support Rep(s) this report should reflect. After selecting a Rep, click on the Add button. If you would like to add more Reps, find the name and press Add after each time a Support Rep is found.
Note: If you are selecting more than one, make sure you change the “Selection Type” to “Or (apply any condition)”.
Once you click on OK, set any further filter criteria you wish, and then press the run button to test your criteria.
When satisfied with the results, further criteria can be set in the Grouping Tab.
Depending on the base report that selected in the General tab, you can select up to three fields for grouping your data.
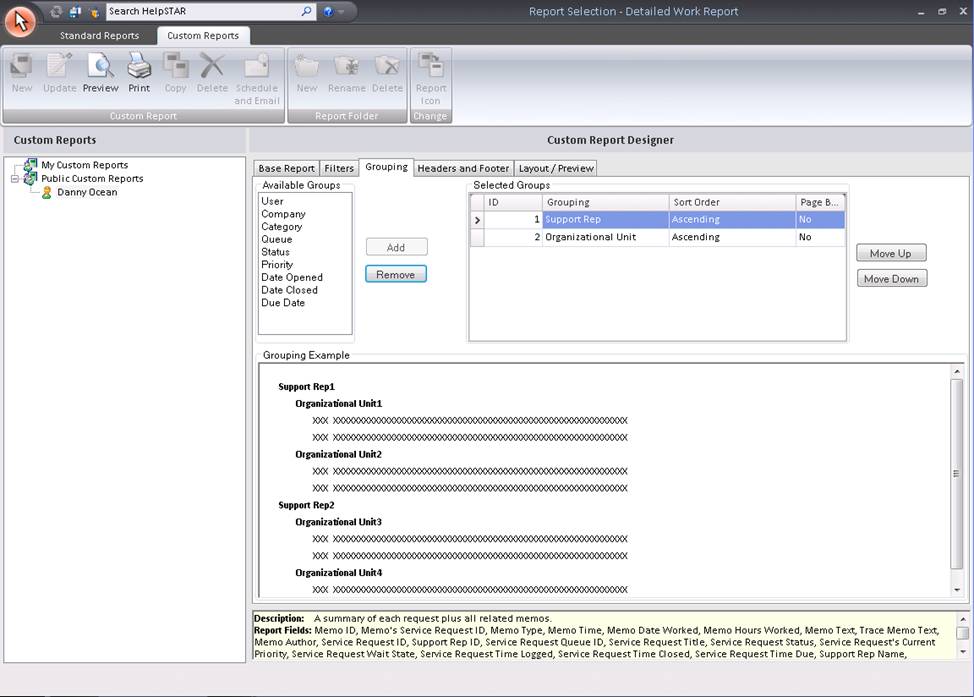
To select fields to group by, drag the field from Available Groups to the Selected Groups pane or select a field and click the Add button. When there is more than one field in the right-hand grid, the grouping order can be changed by using the Up and Down buttons.
By clicking on cells in the appropriate columns, you also have the option of placing a page break after each group break and you can specify the sort order.
In the Group Example pane, after selecting the groupings, a preview of the report will appear. This will help you determine if the grouping selected will meet the needs of your report.
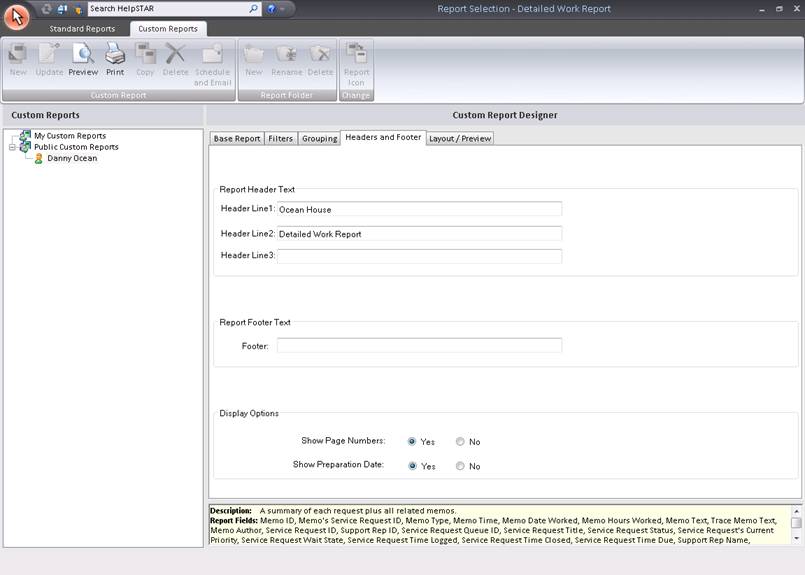
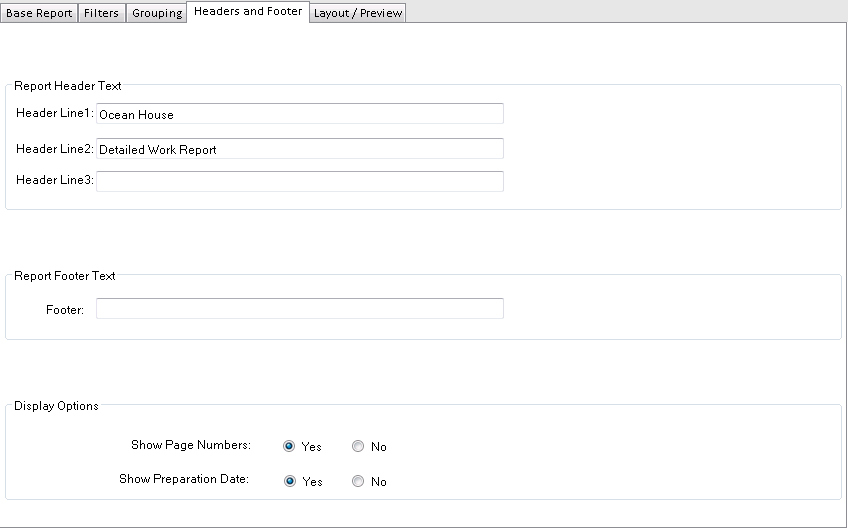
By default, the following information will be displayed in the first two headers but you have the option to change this information.
A third Header Line (Header Line 3) is available for additional information. A field is available for footer information, which will be displayed at the bottom of the report page.
Display Options:
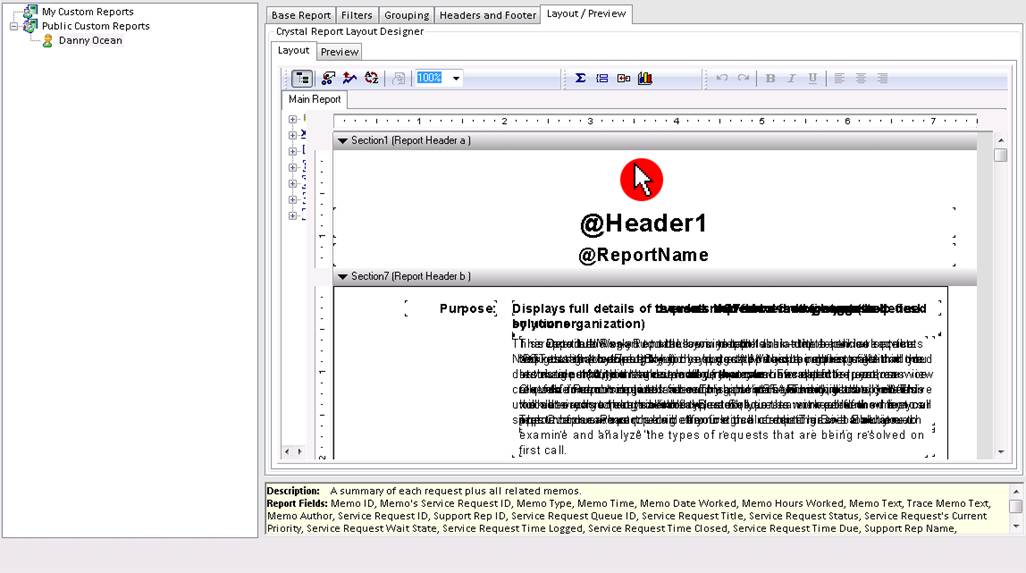
The HelpSTAR Crystal Designer includes all of the features available in the custom report designer as well as the ability to modify the Crystal report template itself. Modifying the Crystal report template allows you to customize the look and feel of the reports, add additional fields to the report (including User Defined Fields) and add formulas and totals to the report.
The additional functionality provides you with a lot more flexibility when reporting on the information flowing through your help desk. HelpSTAR provides you with a single Crystal Report API license when you purchase the HelpSTAR Crystal Designer and for this reason the report designer is packaged as a separate install. If you require additional Crystal Report API licenses, then you need to contact Crystal Decisions directly. You do not need a license to view the report, only to modify the template itself.
Once you have completed your Custom Report, press the save button to ensure your Custom Report configurations are saved.
If you created your custom report as public (”Is Public” was checked), then you will be able to access your report from ”Public Reports”. If you created your custom report as private (”Is Public” was unchecked) you will be able to access your report from "My Reports”.

![]()
For more information on individual reports, please see Reports.
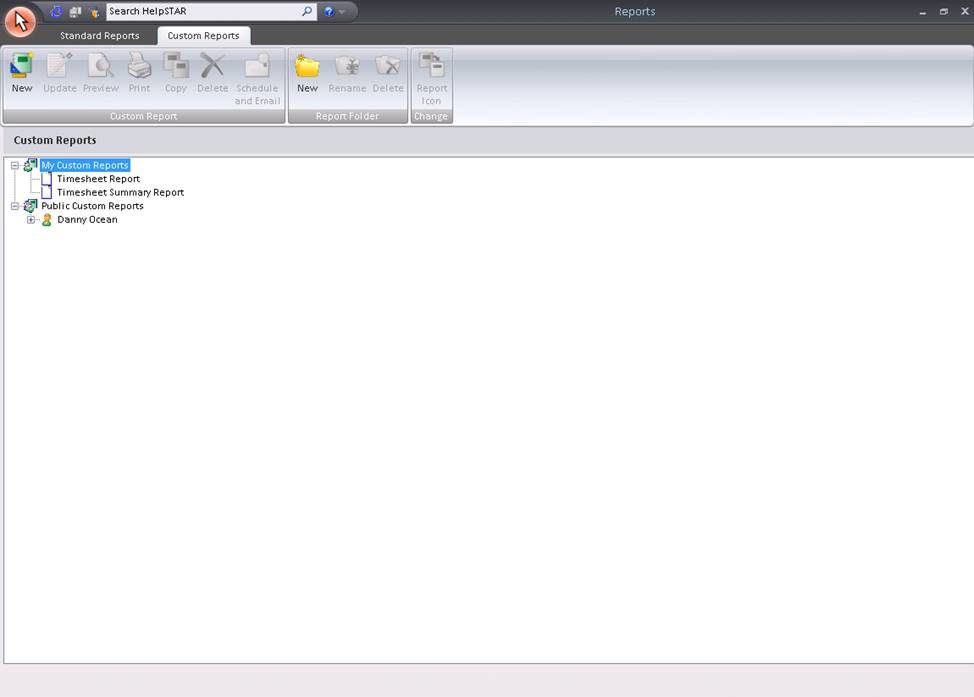

To update your report, perform the following:
1. Click on the Update button in the Ribbon Toolbar
2. Right-click on the report name, and select "Update Report”
3. Edit the report as necessary.
See Also: