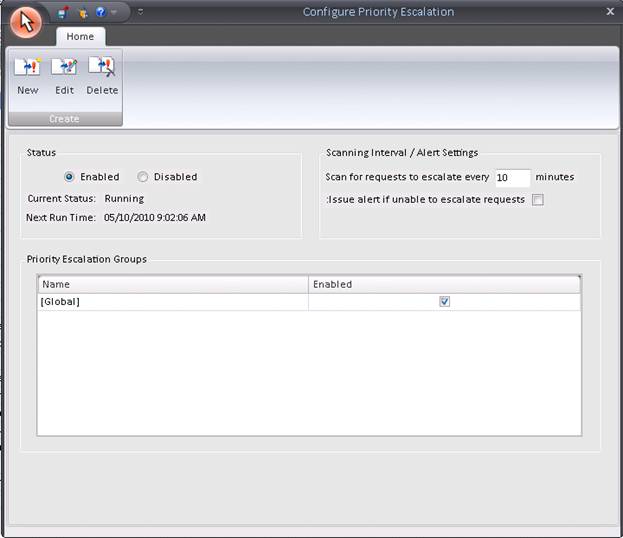
This section allows you to configure HelpSTAR to automatically escalate requests according to their Priority and customized escalation Interval Settings. The Administer Privilege is required to configure and run Priority Escalation. Also, the StarWatch service must be installed for Priority Escalation to function. If a request is escalated using Priority Escalation, the StarWatch service will update the request indicated it has been escalated.


New – Enter a new priority escalation group.
Edit – Modify an existing priority.
Delete – Remove an existing priority escalation group
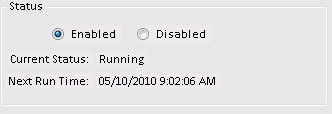
This section allows you to set the "Scan Interval" to establish how often HelpSTAR will scan the database and evaluate requests for auto-escalation.
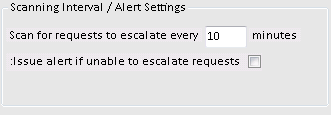
The "Issue alert if unable to escalate requests" checkbox is enabled by default, and will broadcast alert messages to all privileged users logged onto HelpSTAR’s Windows interface in the event that priority escalation stops working ("Issue Alert" can be un-checked to stop the Alert message from continually repeating).
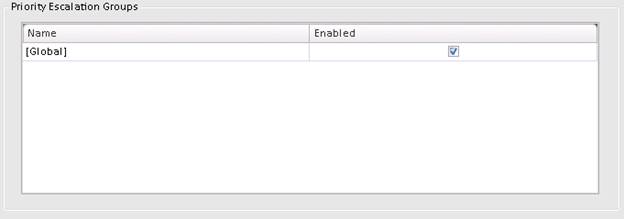
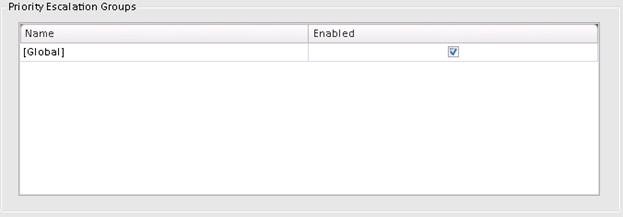
This section will list all Priority Escalation Groups that have been previously created. Note that this first group is named "Global" by default and that you must check "Enabled" checkbox and then click the Save Icon to start the escalation.
To configure an escalation group, click on the New or Edit button in the toolbar. The following window will appear:
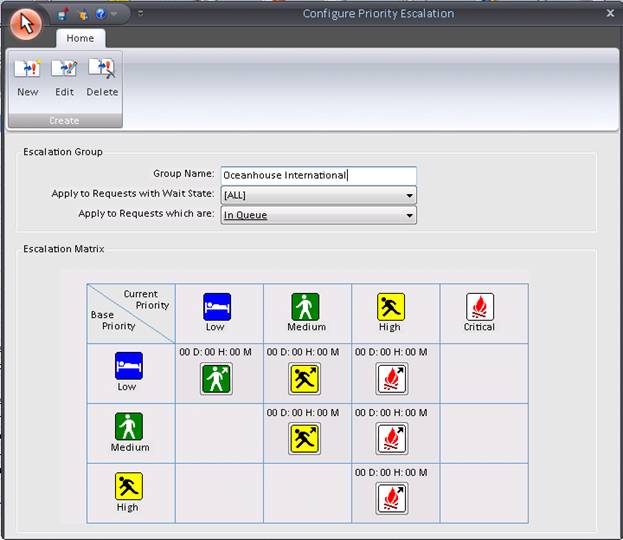

By default, this section is un-editable if selecting to edit the [Global] Escalation Group.
Different escalation interval settings can be applied to different types of service requests. In other words, Custom Escalation Groups can be created and run instead of the "Global" default.
To add a new group, click on New button from the toolbar. The Escalation Matrix will appear again. The "Group Name", "Apply to Requests with Wait State", and "Apply to Request which are" fields will become enabled, as shown below.

The refreshed window allows you to select a specific combination of Wait State and Request Status to create your own customized Escalation Group. You can choose from any combination of Wait State and Request Status shown below.


You can also click on the "In Queue" or "In Service" hyperlink in the Request Status field to select specific queues or support reps for your custom Escalation Group. For example, selecting different queues would allow you to apply separate escalation intervals to the requests forwarded to them – in effect, setting custom escalation for different kinds of service requests. Continuing with this example, click on the "In Queue" hyperlink to view the "Queues Selection" window, as shown below.
Select the "Specific Queues" radio button, drag the queues you want from the "Available Queues" list to the "Selected Queues" list and click on OK. Then name the new Escalation group and select the interval settings by clicking on the icons in the escalation Matrix. Finally, modify the "Interval and Alert" settings if needed, and click "Save". This will return you to the Configure Priority Escalation Settings Window.
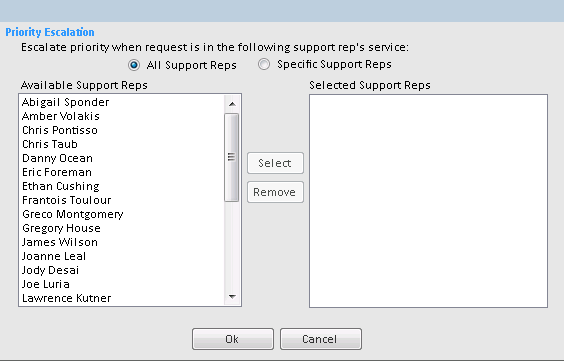
If configuring an escalation group to apply to requests that are “In Service”, the following prompt will appear if opting to select specific Support Reps:
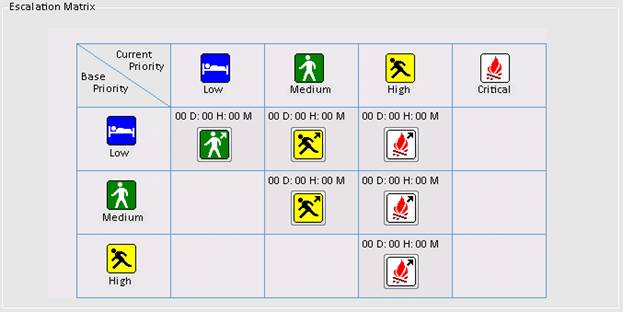
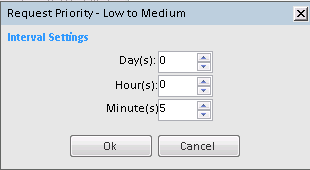
The Escalation Matrix allows you to set the escalation intervals for every combination of Base Priority and Current Priority. Clicking on an icon in the matrix lets you set the escalation interval by days, hours and/or minutes.
Base Priority is a request’s original priority value when
logged
Current Priority is a request’s most recent priority value
When Priority Escalation is running, all open HelpSTAR requests are regularly scanned according to the scan interval setting, and a request’s priority is automatically escalated if the interval between the request's time logged and the present time is satisfied according to the Priority Escalation Interval Settings.
Low_LM, Low_MH, Low_HC, Medium_MH, Medium_HC, and High_HC.
If the interval of days, hours, and/or minutes between the request's time logged and the present time is satisfied, then the request is escalated as follows:
Low_LM - If base priority is LOW and current priority is LOW, then
priority is escalated to from LOW to MEDIUM.
Low_MH - If base priority is LOW and current priority is MEDIUM,
then priority is escalated from MEDIUM to HIGH.
Low_HC - If base priority is LOW and current priority is HIGH, then
priority is escalated from HIGH to CRITICAL.
Medium_MH - If base priority is MEDIUM and current priority is
MEDIUM, then priority is escalated from MEDIUM to HIGH.
Medium_HC - If base priority is MEDIUM and current priority is HIGH,
then priority is escalated from HIGH to CRITICAL.
High_HC - If base priority is HIGH and current priority is HIGH, then priority is escalated from HIGH to CRITICAL.
Requests can be escalated one step at a time (i.e. LOW to MEDIUM to HIGH to CRITICAL) by setting all 6 Priority Escalation Intervals. If an interval is not set (i.e. equals 0 days, 0 hours, 0 minutes), then requests meeting that criteria will not be escalated any further.
When a request's priority is escalated, the request is updated with a Trace Memo and generates the appropriate Alarms.
Example:
If Low_LM = 1 day, Low_MH = 1 hour, and Low_HC = 10 minutes, then a request
that is logged with a Base Priority of LOW will be:
Escalated to MEDIUM 1 day after it is logged
Escalated to HIGH 1 day and 1 hour after it is logged,
Escalated to CRITICAL 1 day and 1 hour and 10 minutes after it is logged.
You must check "Enabled" to run your customized Escalation Group. This will automatically disable the "Global (System-wide)" group because it cannot be run at the same time as a custom group. (Similarly, if you have enabled custom escalation groups and then enable the "Global" group, all the custom groups will be automatically disabled.)
You can create more than one custom group, but once you have added a group with a particular combination of Wait State and Request Status, this combination will not be available for future custom groups unless you delete the current group. If a group is disabled, its name will be displayed in gray text.
See Also: