Web Components
HelpSTAR is equipped with several web components that your users can access to submit and service requests.
Notes Regarding Web Components Installation:
-
The Web Components Installer will only allow you to use a single web site for these components. Individual portals must be installed as virtual directories to this web site.
-
If you wish to install the components to their own individual websites, uncheck these components in this step. Then at a later point, launch the individual web components installers from the following location:
[HelpSTAR installation directory]\HLPSTRCS\INSTALL
Web Portal: WebPortalCS.exe
Password Reset Utility: HSpwdReset.exe
SharePoint Portal: HSSPWebPortal.exe
Mobile Web Portal: HSMobileWeb.exe
-
On the server in which you want to install the HelpSTAR Web Components, navigate to the HelpSTAR Deployment Server folder (\HelpSTAR\HLPSTRCS\Install).
-
Click on the “HSWebIntegrate.exe” file. The Web Portal Components installation will proceed. Click Next to begin the installation.

-
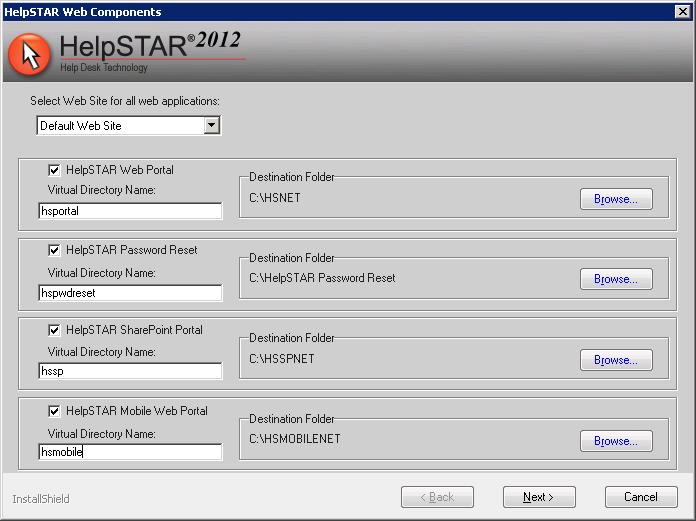
The Web Components installer will let you decide what components will be installed. On the server, determine which IIS Web Site will be used. For each component selected, provide an IIS Virtual Directory and Destination Folder for the installation. Once you have chosen which components will be installed, click on Next to proceed.
-
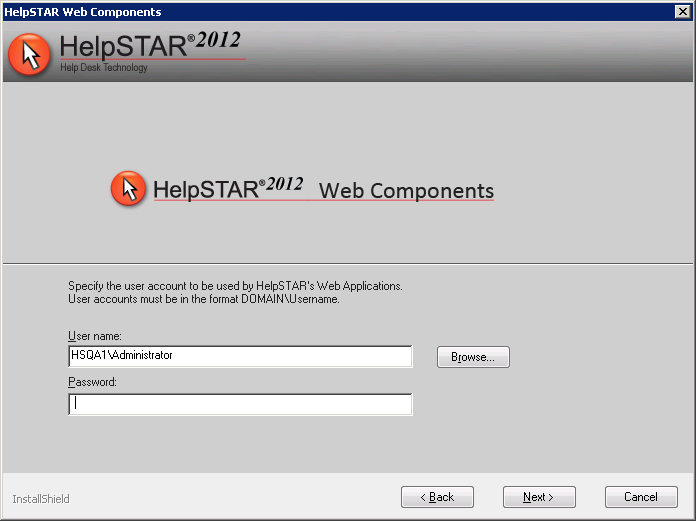
For all web components, specify a Domain User and Password to be used for authentication. If you have selected the Password Reset component, you will also need to Delegate the “Reset users passwords and force password change at next logon” control to this user in Active Directory. Click on Next to proceed.
HelpSTAR .Net Web Portal Installation
Web Portal Installation Prerequisites:
-
Microsoft .Net Framework 3.5 is required for this installation.
-
Internet Information Services 6.0 or 7.0 must be installed prior to running this installation.
-
A domain user account will be required during installation. Ensure that the domain user account has a password that does not expire.
Note:
Instructions provided below presume that the web server and the database server reside on the same domain.
Web Portal Installation:
-
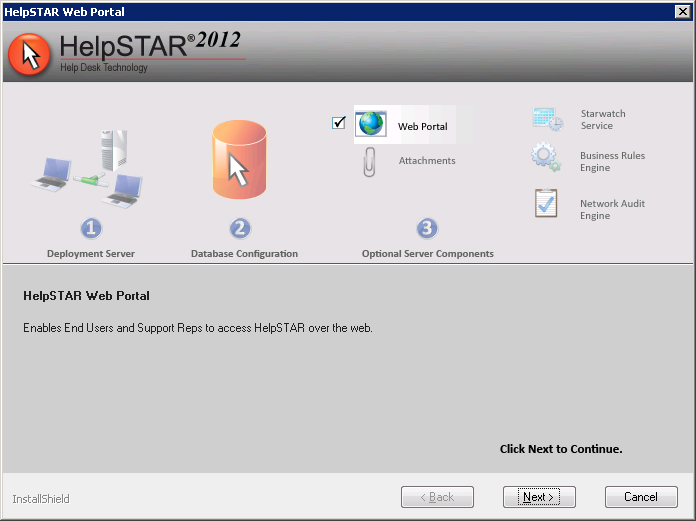
If you have selected to install the Web portal, the Web Portal installer will launch.
-
-
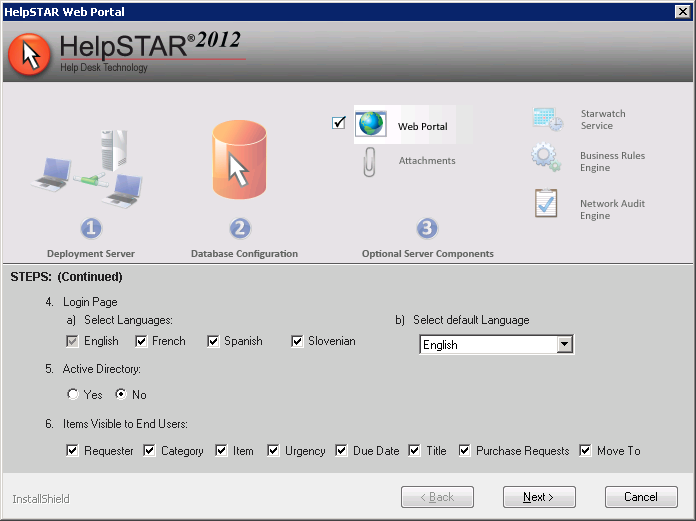
On this screen, you will be prompted to select the following options:
-
-
Login Page Language
a) Select the languages that should be made available to the users of the Web portal.
b) Select the default language presented to the end users on the Web portal.
-
Active Directory - If users have been imported from Active Directory, selecting this option allows you to set a login bypass for the Web interface. This allows a user to automatically login into the Web portal interface using the same login used for the machine they are currently logged in to.
-
Items Visible to End Users - specify the fields available to end users when logging a new request.
-
-
-
Click Next when finished with the above options.
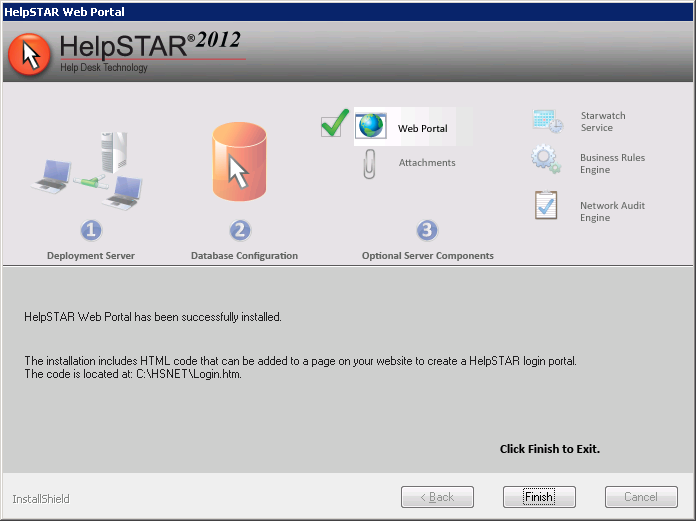
A confirmation will appear upon successful completion of the HelpSTAR Web Portal installation.
-
Web Portal Customization
HelpSTAR will allow you to customize the look and feel of your .Net Web Interface. Once the Web Portal installation is complete, options to customize the Web Portal will be launched (as shown below).
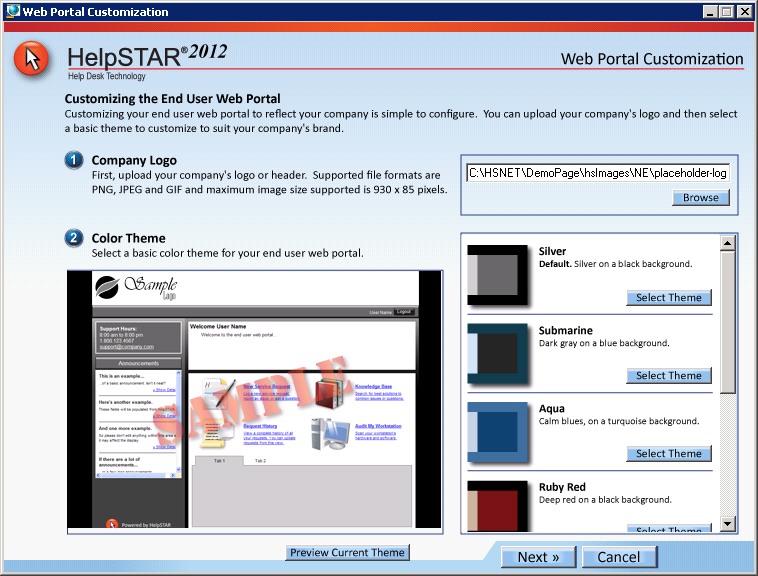
You can complete your customizations at this stage. However, should you decide to customize or modify the theme of your web portal at a later time, you can launch the customization options from the following location:
\HSNET\WebUIThemeCustomize.exe
Note: For Internet Explorer, it is recommended to upgrade version 7.0 or higher to view the best quality of your customizations.
To complete your customizations, perform the following:
-
Company Logo - Upload your company logo to your Web Portal. Click on the Browse button to locate your image file. Click on the Open to insert the image. Note: this image must not exceed 930 x 85 pixels.

-
Color Theme - Select a basic color theme to match your company logo. Scroll through available options and click on the Select Theme button for your desired theme.
-
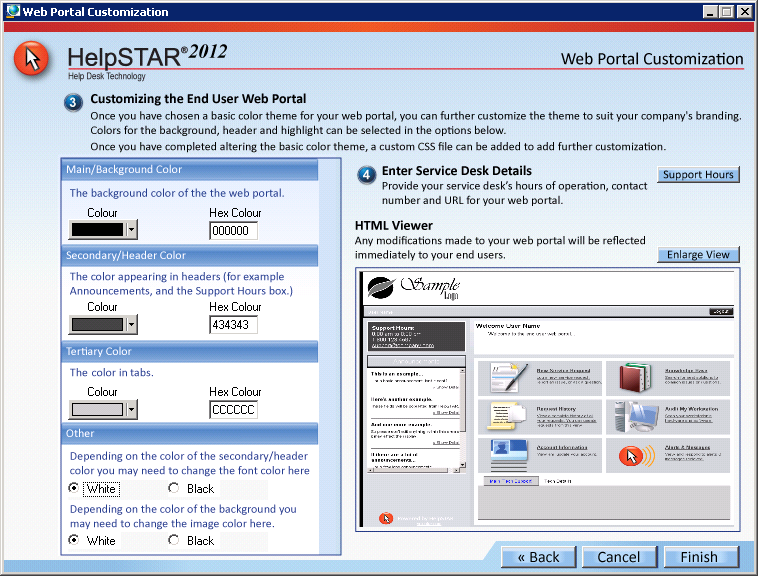
Preview Current Theme - Select the Preview Current Theme button to view how your theme will appear on the Web Portal. Click on the Return to Customization Options button to return to the customization options.

Once you have returned back to the customization options, click on Next to continue with available options.
-
Advanced Color Options - Further customization options for the main/background color of your web portal can be performed at this step. Select advanced colors to further match your company theme or logo.

-
Service Desk Details - Click on the Support Hours button to enter the available hours of support, contact phone number and URL for the help desk.

HTML Viewer - Modifications made to your Web Portal will be reflected immediately. This viewer will allow you to preview the options selected for your customization. Click on Enlarge View to preview your Web Portal on a larger window.
Click on Finish to exit the designer.
HelpSTAR Password Reset Installation
-
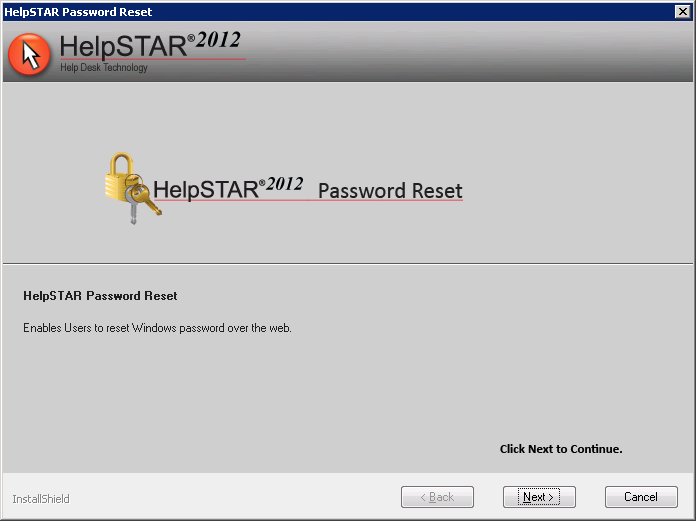
If selected, the Password Reset Installation will proceed, click on Next to proceed.
-
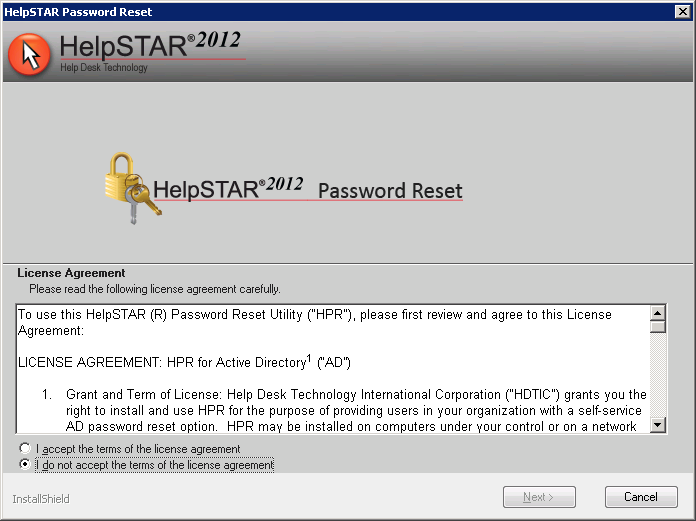
When prompted, review and agree to the HelpSTAR®2012 license agreement. Click Next.
-
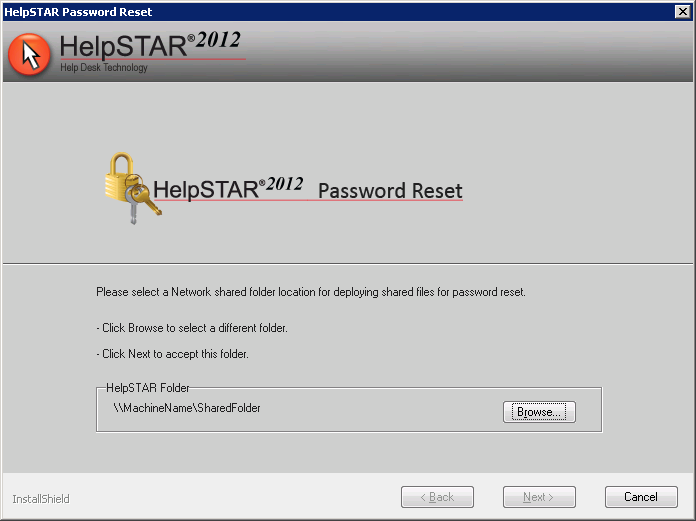
You will be prompted to choose a Shared Folder for the Password Reset module.
-
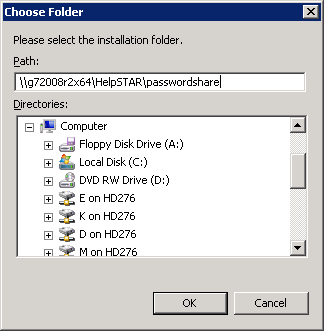
When you click Browse, a window will appear which will allow you to select a folder or enter a network path. Click OK and then Next to proceed.
-
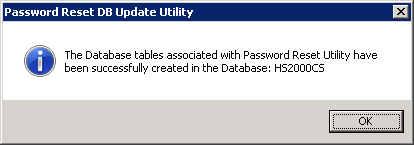
The necessary database tables will be created for the Password Reset component and a dialog will appear when it has been completed.
-
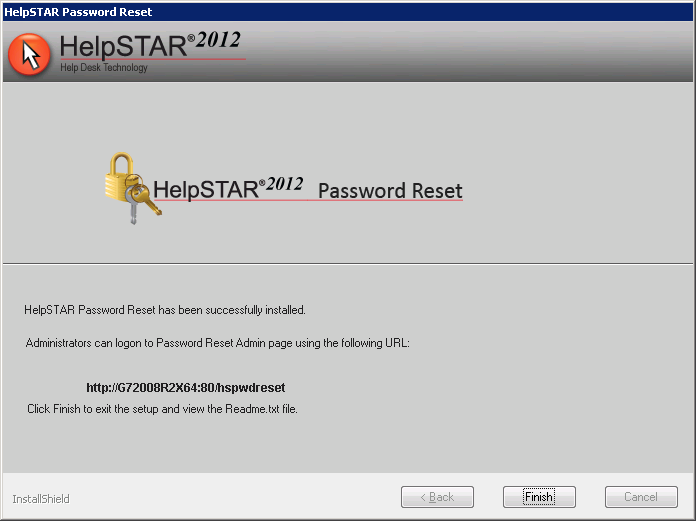
A confirmation will appear upon successful completion of the HelpSTAR Password Reset installation. The confirmation will also provide web path for the Administration of this component. Click on Finish to proceed to the next HelpSTAR component.
HelpSTAR SharePoint Portal Installation
-
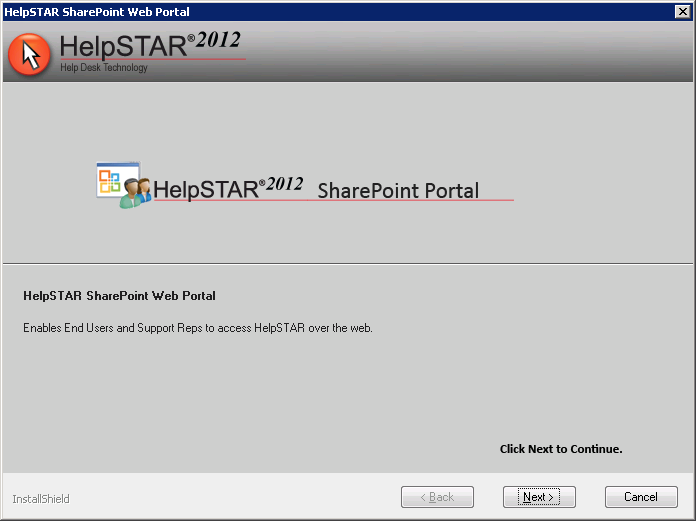
If selected, the SharePoint Portal Installation will proceed, click on Next to proceed.
-
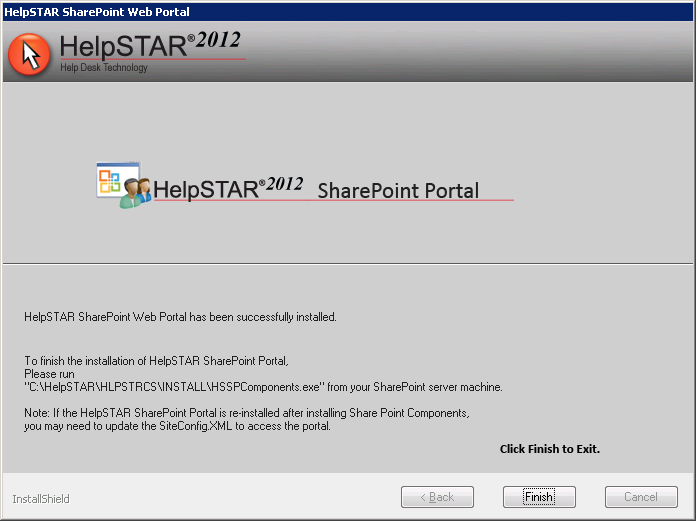
A confirmation will appear upon successful completion of the SharePoint Portal installation. Click on Finish to proceed to the next HelpSTAR component.
HelpSTAR Mobile Web Portal Installation
-
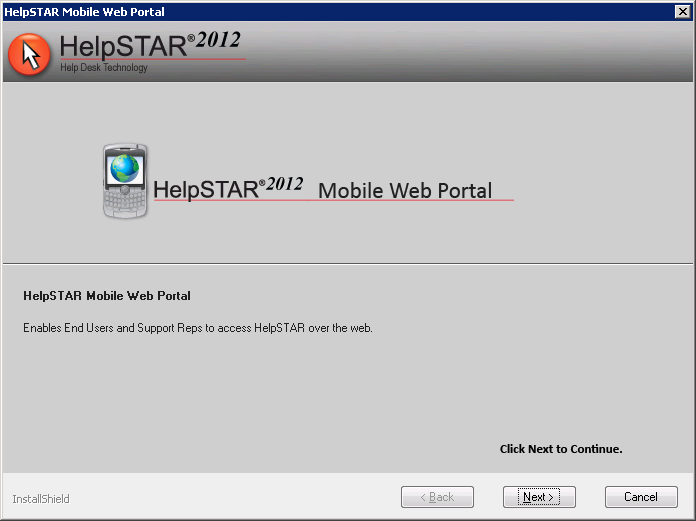
If selected, the Mobile Web Portal Installation will proceed, click on Next to proceed.
-
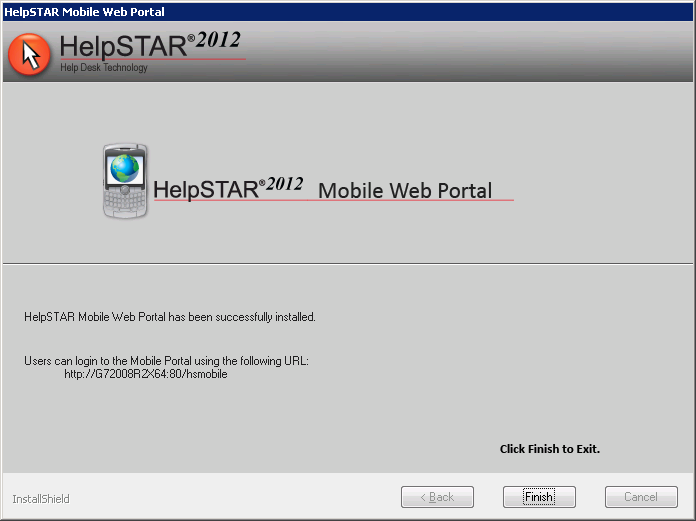
A confirmation will appear upon successful completion of the Mobile Web Portal Installation. Click on Finish to proceed to the next HelpSTAR component.
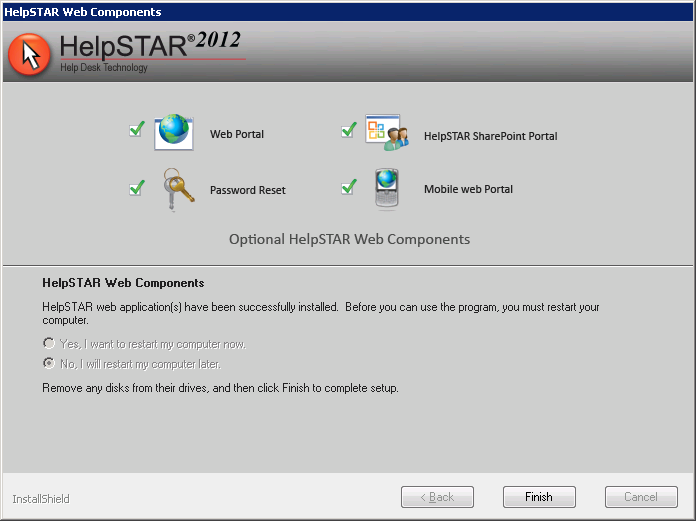
Upon the completion of the component installations, a final confirmation will be shown.
See Also:
Web Portal for Privileged Users
HelpSTAR's Windows Client Home Page