Manage Existing Vendors
Overview:
Manage Existing Vendor allows you to manage vendor
companies that are added into HelpSTAR. Selecting this button will allow
users with the Administer Privilege to add, update or de-activate a
vendor.
1. Ribbon Toolbar:
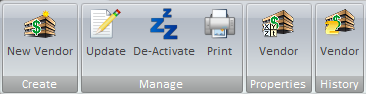
Create

- New Vendor: Create a New Vendor to be added to
the HelpSTAR system.
Manage
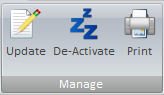
- Update: Update existing Vendor profile information.
For more information please see Company Properties.
- De-Activate: De-Activate a Vendor. Note:
This will not delete the Vendor it will remove the Vendor from views/search
results.
- Print: Print the Vendor Listing/Search Result Listing
Properties

- Vendor Properties: View Vendor Company
Properties (i.e. Vendor address, phone number, listing of HelpSTAR users
in the company, etc.).
History

- Vendor History: View a history of requests submitted
by the selected vendor company during the date range that you specify.
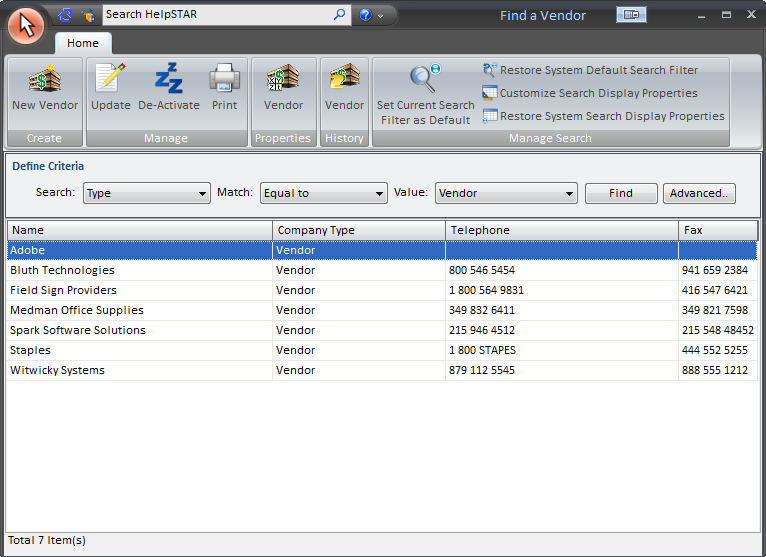
2. Define Criteria:

Define search criteria to obtain a listing of vendors which you wish to
find. Search by Type Name, Telephone, Fax, Street 1, Street 2, City,
State, Code, Country or Memo
3. Vendor Listing/Search Result Listing:
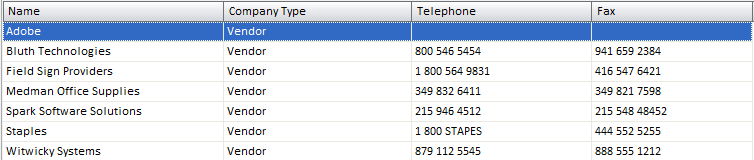
When this window is first opened, a list will be populated with all vendors
that currently exist in HelpSTAR. However, you can enter in search
criteria to narrow down the listing to vendors you wish to view. Each
vendor listed will display the vendor name, telephone (if entered) and fax
number (if entered). At the bottom left hand corner, a count of how many
vendors have been listed is displayed.
Back to
top
See Also:
Adding New
Vendors
Adding New
Products
Managing Existing Products
Company
Properties