Email Inbox
Overview
The Email Inbox allows privileged users in HelpSTAR to create or update service or purchase requests by using messages that are available in their local email accounts. The Support Rep privilege or Dispatch privilege are required for this functionality.
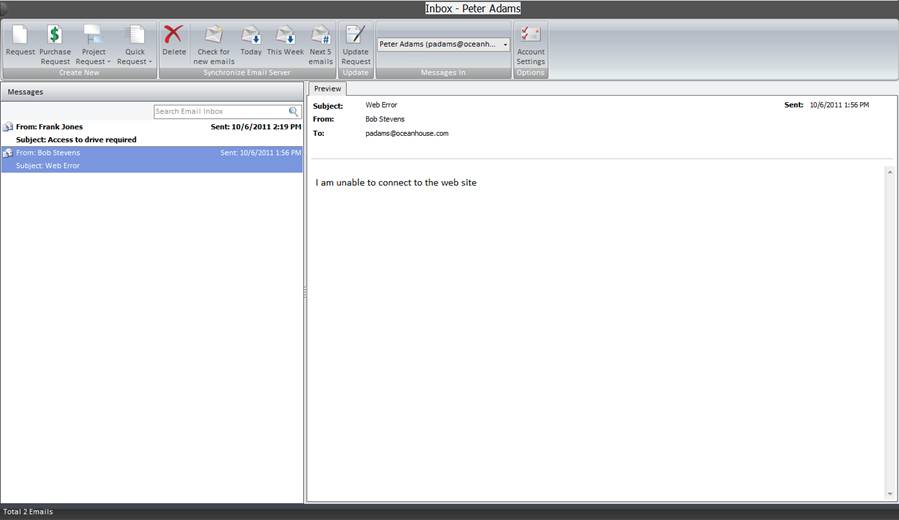
1. Ribbon Toolbar

This email inbox ribbon is divided into five groups:
Create New

This section of the ribbon displays options to create a request or project from an email. Clicking on one of the options will create the respective object from the selected request.
Synchronize Email Server

This section of the ribbon displays options to delete emails as well as manage the messages list. The list management options include check for new email, Today (displays all email received today), this week (displays all email received this week), and next N emails (displays the next N emails)
Update

This section of the ribbon displays an option to update a request or project from an email. Clicking on this option will bring up the “Find a Request” window. See the “Updating a Request” section below for more information.
Messages In

This section of the ribbon will display the email account that messages are being pulled from. This account can be configured in My User Options. If any user has enabled "Allow others to check my emails" in his User Options, then you can select this user from the "Messages in" drop-down menu. You can then view this user’s email (i.e. the messages that arrive in his email account) and use them to create or update requests. For more information, see My User Options.
Options

This section of the ribbon displays an option to update your email account settings in HelpSTAR. Clicking on this option will bring up the “Email Account” page from the “User Options” window.
2. Message List
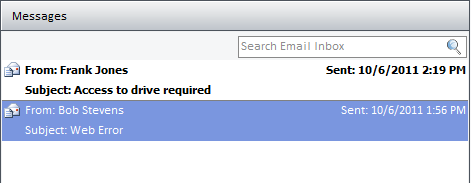
This work area will list the emails that have been retrieved from the local email account. These emails can be selected from this work area and either added to an existing request or to create a new request or project. The “Search Email Inbox” box in the window may be used to search the message list by a word or string.
-
Preview Pane
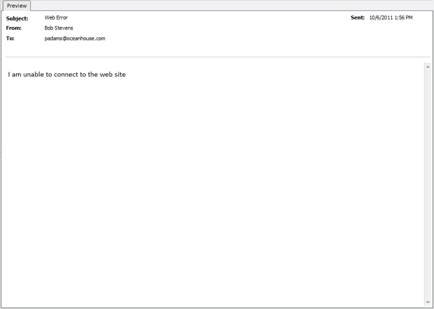
The preview pane displays a preview of the email currently selected within the messages list.
Updating a Request
After clicking on the “Update Request” option, the following window will be displayed:
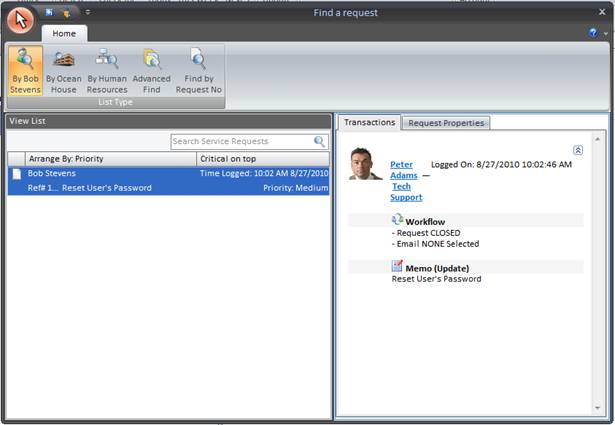
This window will display all of the requests within HelpSTAR where the on which the sender of the email is the requester. In some cases, a selected message in the messages list should be used to update a request of a requester other than the sender of an email. For this scenario, use the options to selected request history for the following:
-
By <Sender>: Request history of the sender will be loaded in this pane by default
-
By <Sender Company>: List the company request history for the sender
-
By <Organizational Unit>: List the OU request history for the sender
-
Advanced Find: Find requests matching desired criteria
-
Find Request by Ref #: Locate a specific request number to update
Note: If email is not enabled in a requester’s login properties, options for the current company or email account will not be available.
To Set Up Email Inbox:
To set up the Email Inbox functionality, an administrator must configure the mail system in the User Email Account. The administrator can also use this area to configure the reps’ local email account settings (or the reps can do so themselves from their Email User Options).
To Create a New Request Using Email Inbox
1. In the Messages List Pane, select an email.
2. Click on the “Request” icon with the “New” group of the ribbon. The new request window will appear.
3. The subject line of the email will become the request Title, and the header information will become part of the request Memo.
The header information and first two lines (or 590 characters) of the body will become the request Memo, and the entire body of the message (plus the header information) will be added to the Memo as a "Click for details…" link to an ‘.hms’ file. Note that any files attached to the email message will be linked to the .hms file. These files can be opened (via a paperclip icon) from the .hms file window when it is opened or from the attachment tab on a service request.
Note that the message handling option described in the above paragraph will become the default behavior after you enable attachment functionality (from the Database Utilities Installation). If you wish to change this behavior back to the first option (plain text inserted in the Memo field), you can do so from the User Email Account, but note that email attachments will be ignored.
The following screenshot shows an example of a new request being created from an email message, where the body of the message has been added to the Memo as a "Click for details…" link.
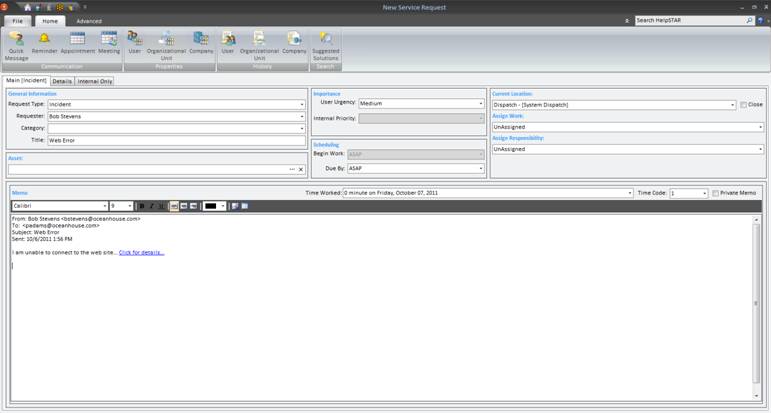
Note that the requester is "Bob Stevens". This is because the Bob exists in the HelpSTAR database and the rep creating the request from the email has the Submit privilege. If the Support Rep who received the email does not have the Submit privilege, then by default, they will be the requester of this request.
Before saving the request you must select a Category, and you can add notes to the memo field and make any workflow changes you feel necessary. After saving the request you will be given a reference number.
Notes about Email Inbox
1. You must set your Email User Options before you can use the Inbox functionality described in this topic.
2. If any files are attached to an email message, a paperclip icon will appear in the header of the message preview area.
3. The HelpSTAR Inbox scans the mail server for incoming email messages addressed to you. Its success is dependent on the settings of your local email application. You should configure your email application to leave a copy of each message on the server. Otherwise, if it processes messages ahead of the next scan by HelpSTAR, these messages will not be picked up by HelpSTAR’s inbox.
4. When you use or "Delete" messages in the HelpSTAR Inbox, they disappear from the window but are not immediately deleted. When you close HelpSTAR, you will be prompted whether or not to delete these messages permanently (i.e. from the mail server). If you select "Yes" then they will be deleted from the mail server.
5. You can configure your User Options so that a popup message will notify you whenever new email arrives. See User Options - Email for more details.